Most people can’t imagine a morning without coffee. For some it’s a ritual, and for others it’s just a tool to wake up. There are many ways to make coffee. A coffee machine looks like the easiest one, but it’s mainly useful in an office where someone cleans and maintains it. At home you usually don’t need it. Turkish pots, geysers, and regular drip makers also seem simple, yet they involve some extra-steps that brings frustration, so you end up just putting coffee grounds in a cup and pouring hot water.
One day my wife and I tried the AeroPress. At first it seemed like gimmick, but it turned out to be one of the simplest ways to brew coffee. The coffee comes out always consistent, and you can adjust the flavor with a few variables while the human influence is minimal. In short, the AeroPress is probably the most hassle-free way to get a good cup of coffee.
I wanted to make the AeroPress routine even easier by improving how its parts are stored in the kitchen. The parts wash well, but the plastic dries slowly... becasue this os how plastic is. Most storage ideas, including the official one, look good in photos but aren’t very practical. All the designs I’ve seen take up a lot of counter space. They leave the pieces on a surface, slowing drying, and some integrate a filter tray into the stand, which I don’t like having out on the countertop, especially with wet dishes nearby.
So I designed a compact stand for the AeroPress parts that won’t hog kitchen space. It lets you drop the pieces in right after rinsing, so they dry quickly. By reducing contact areas and arranging them to avoid sealed pockets, moisture can evaporate easily.
I got so carried away and decide to do not stop at a design that merely works and set the goal with self‑contained product. I brought in some industrial‑design practices and focused on adapting to the manufacturing process - 3D printing.
All angles are kept 45° to make printing easier.
Reinforcement techniques are used for through‑holes.
Every profile dimension is a multiple of the standard 0.4mm nozzle settings: layer height 0.2mm, line width 0.4mm.
Without going too deep into failures, I’ll just show the prototype evolution, left to right. The final version isn’t completely finished and is printed in a single color, but it’s enough to illustrate how the design evolved. There were a few more intermediate versions, but they never made it to a test print. I’ve lost count of how many checkpoints there were.
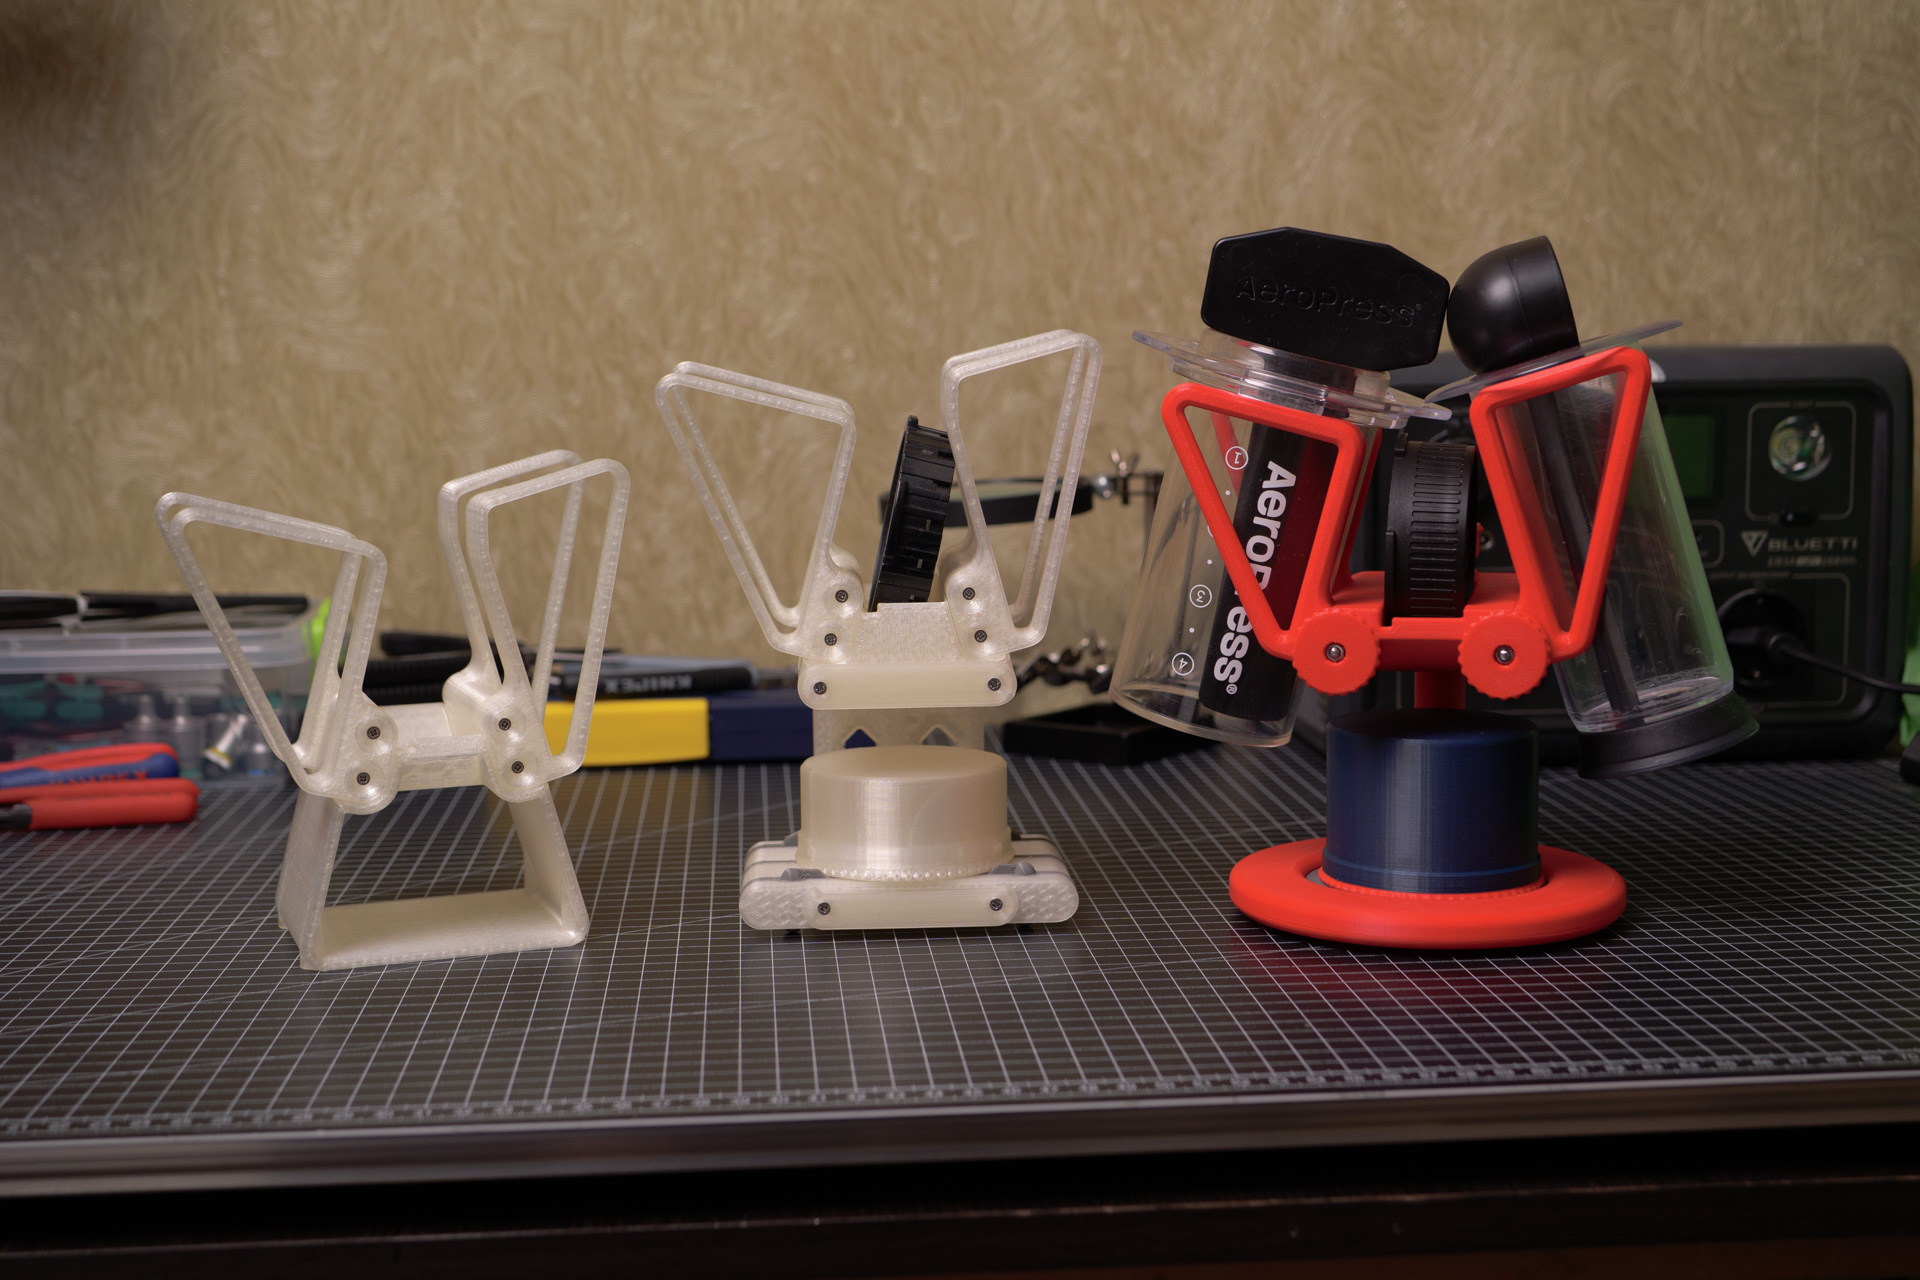
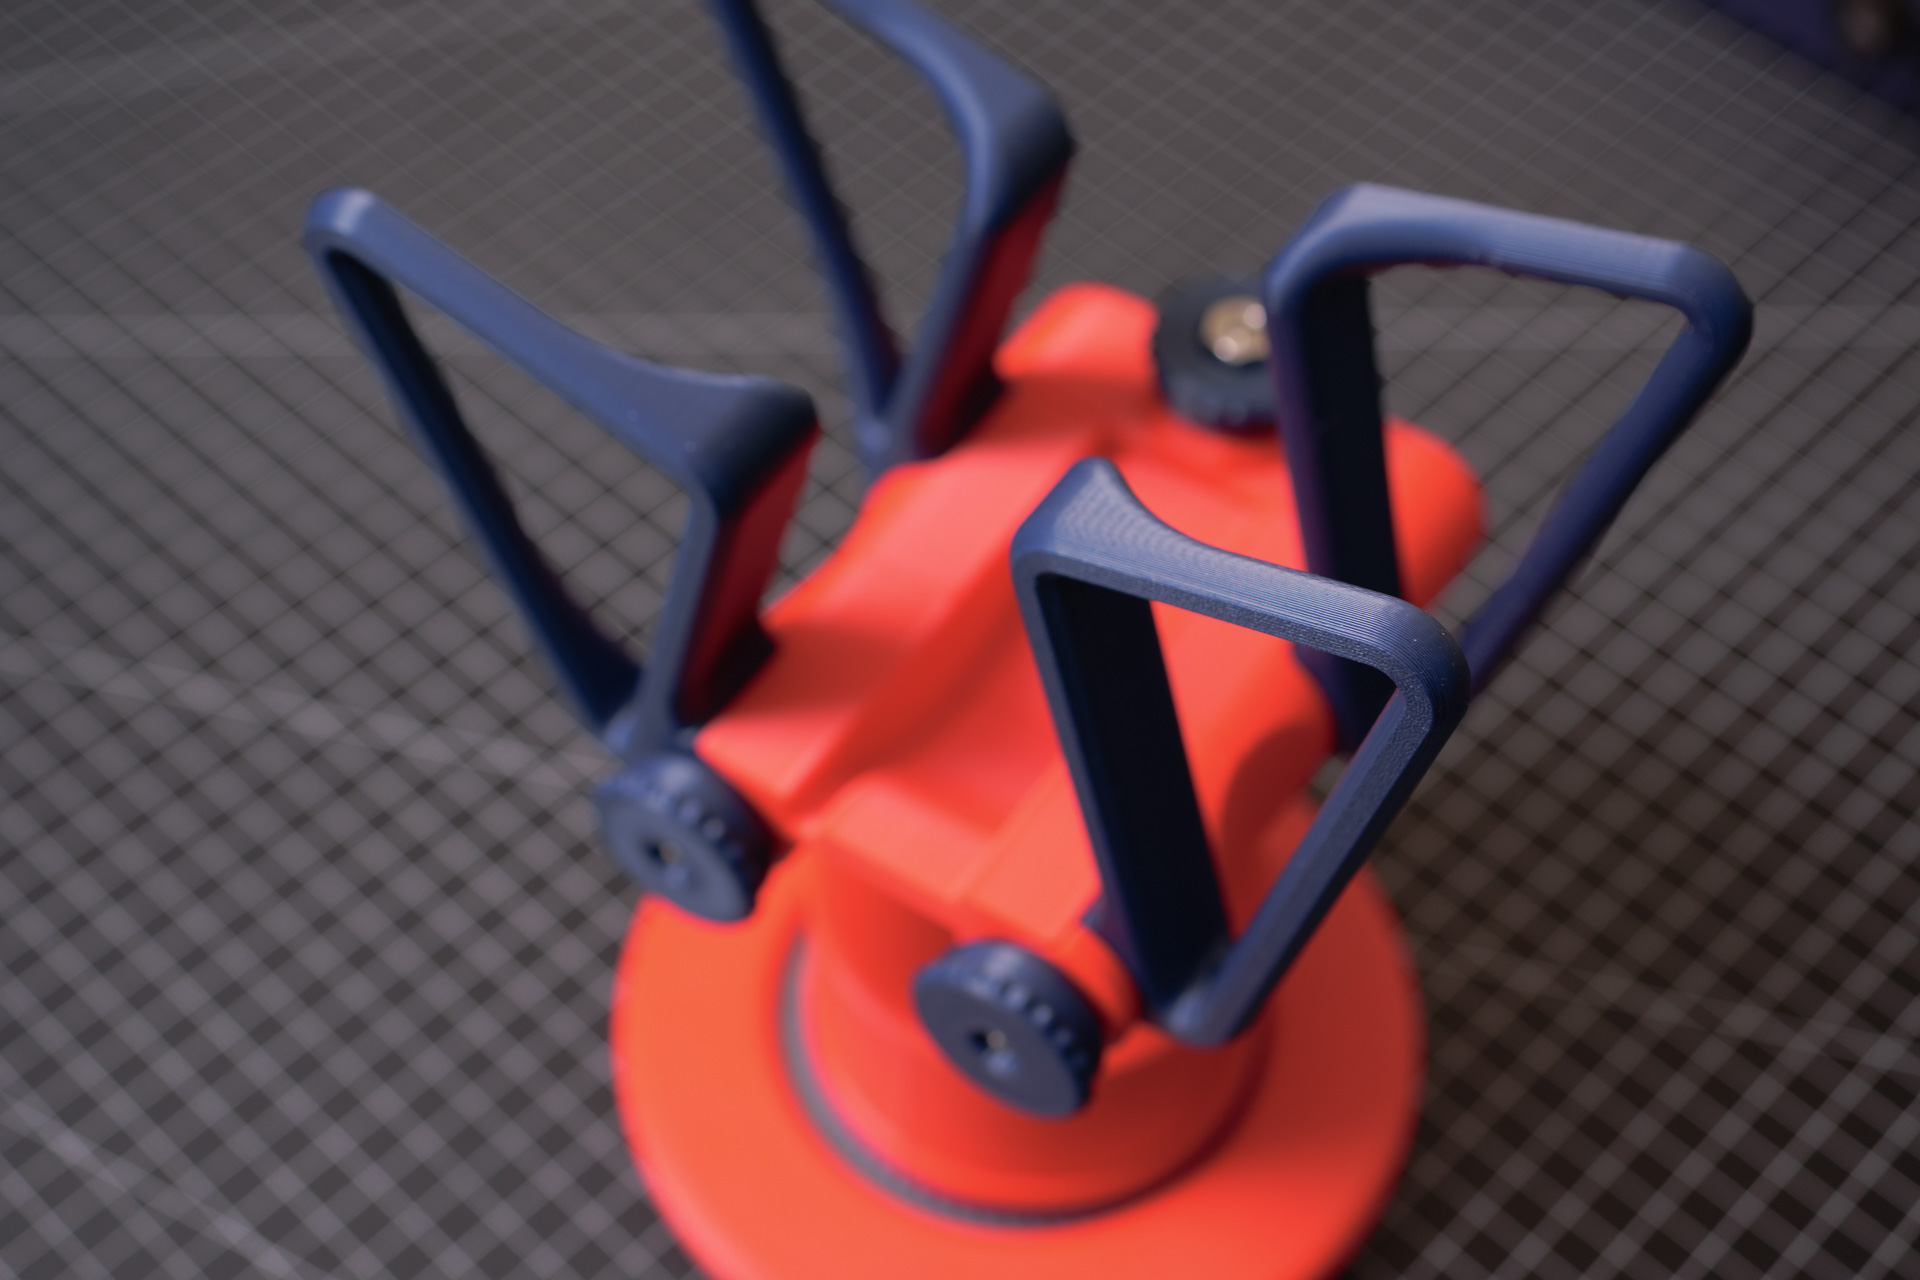
As you can see, out of all the ideas only one survived many iterations unchanged – the main compositional mass shaped like a cone. From a design perspective, it gives visual symmetry to the otherwise asymmetrical parts. Functionally, this shape holds the pile of components together and providing easy access to them, also helps water drain faster. This saves space and adds harmony. The conical shape also tapers into a circular imprint on the table, providing an ideal balance between stability and the footprint it occupies.
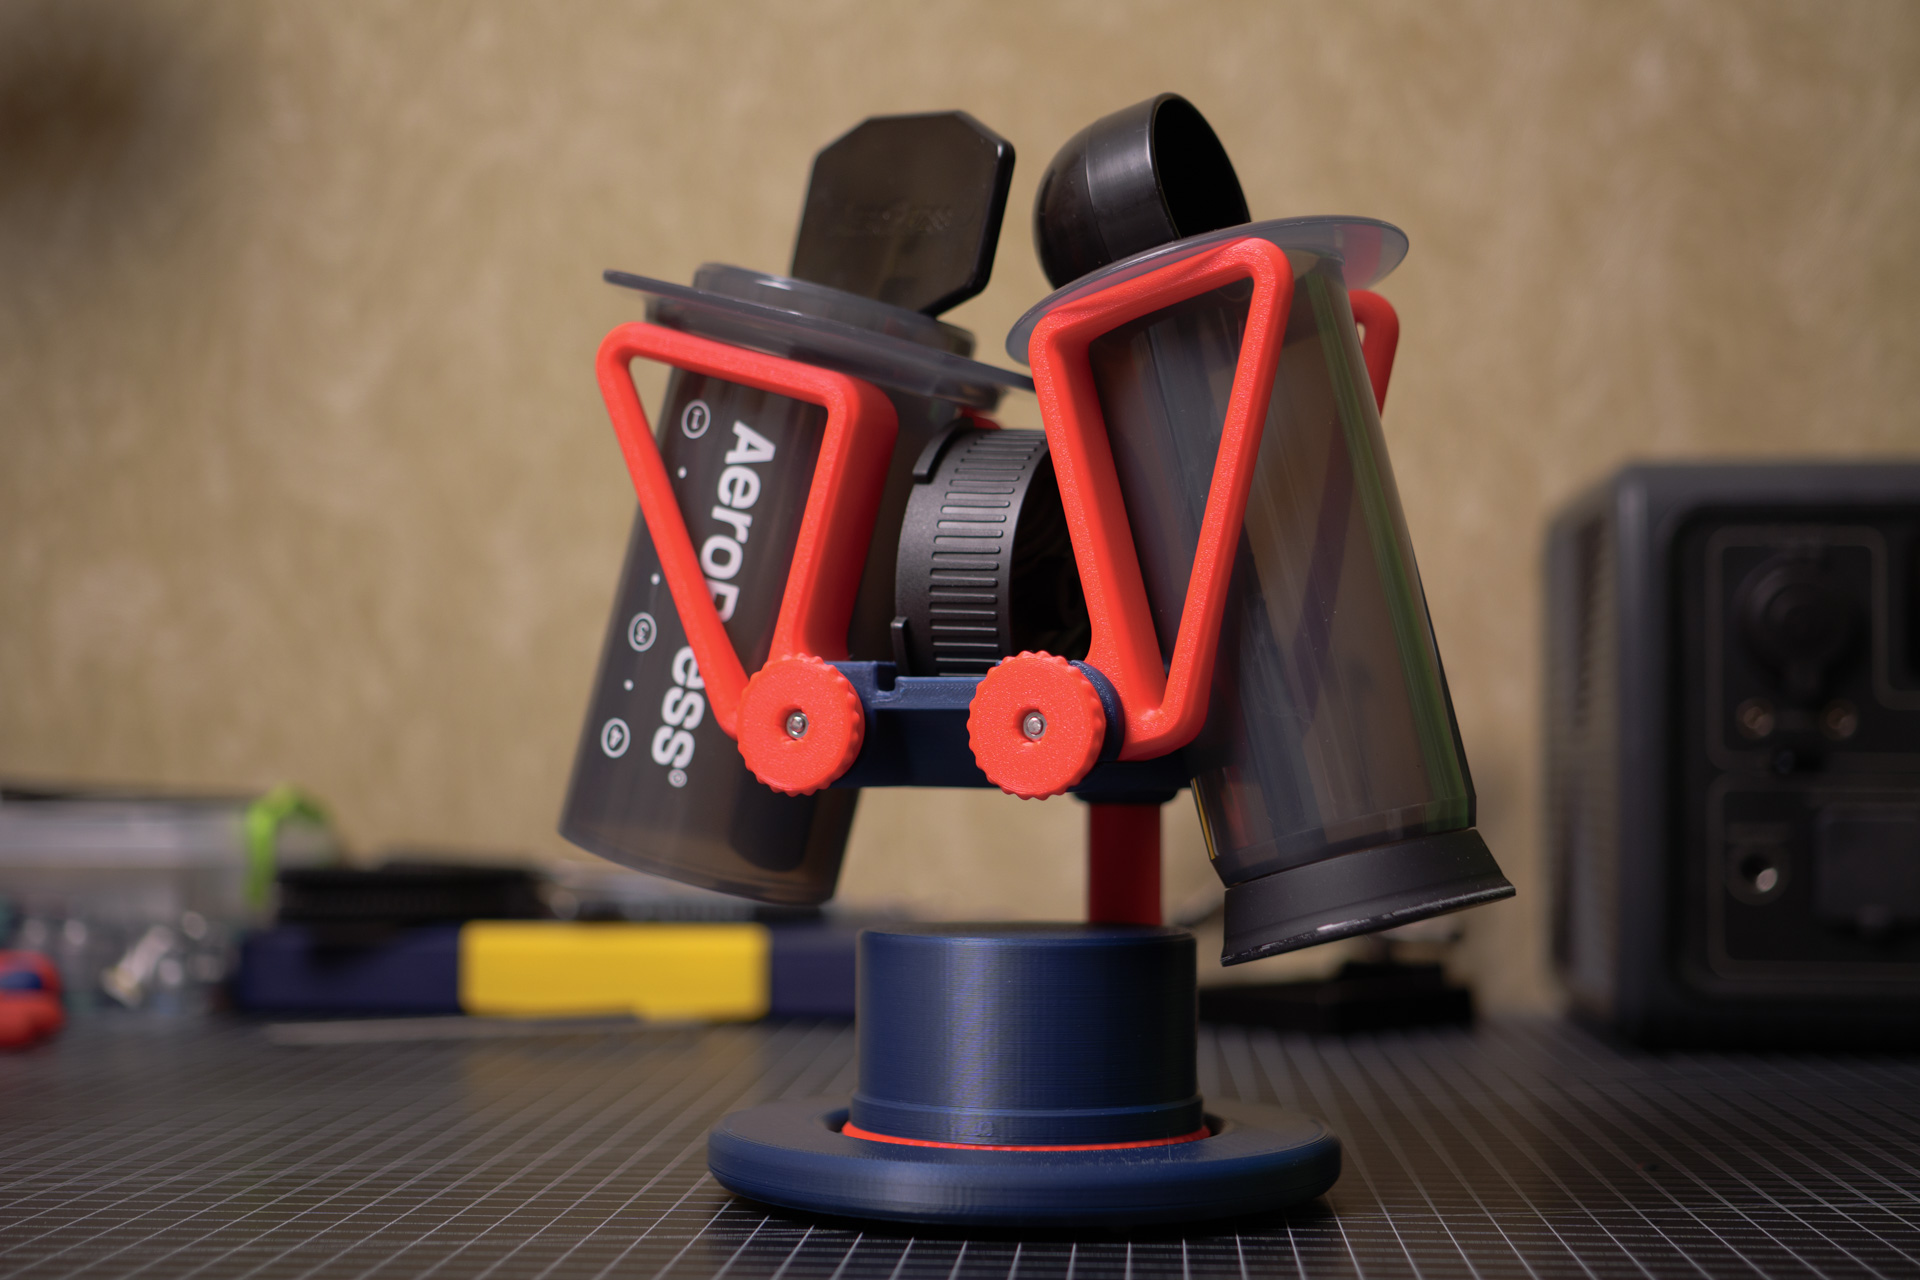
And finally, here’s the full‑assembly photo of version 1.
The design is adapted for printing parts in two colors. For this example I used matte PLA in ruby and navy. They match the classic gray AeroPress nicely. I’m already looking for a white‑pearl option and pastel colors. As you can see, there’s plenty of room for experimentation until I’m satisfied.
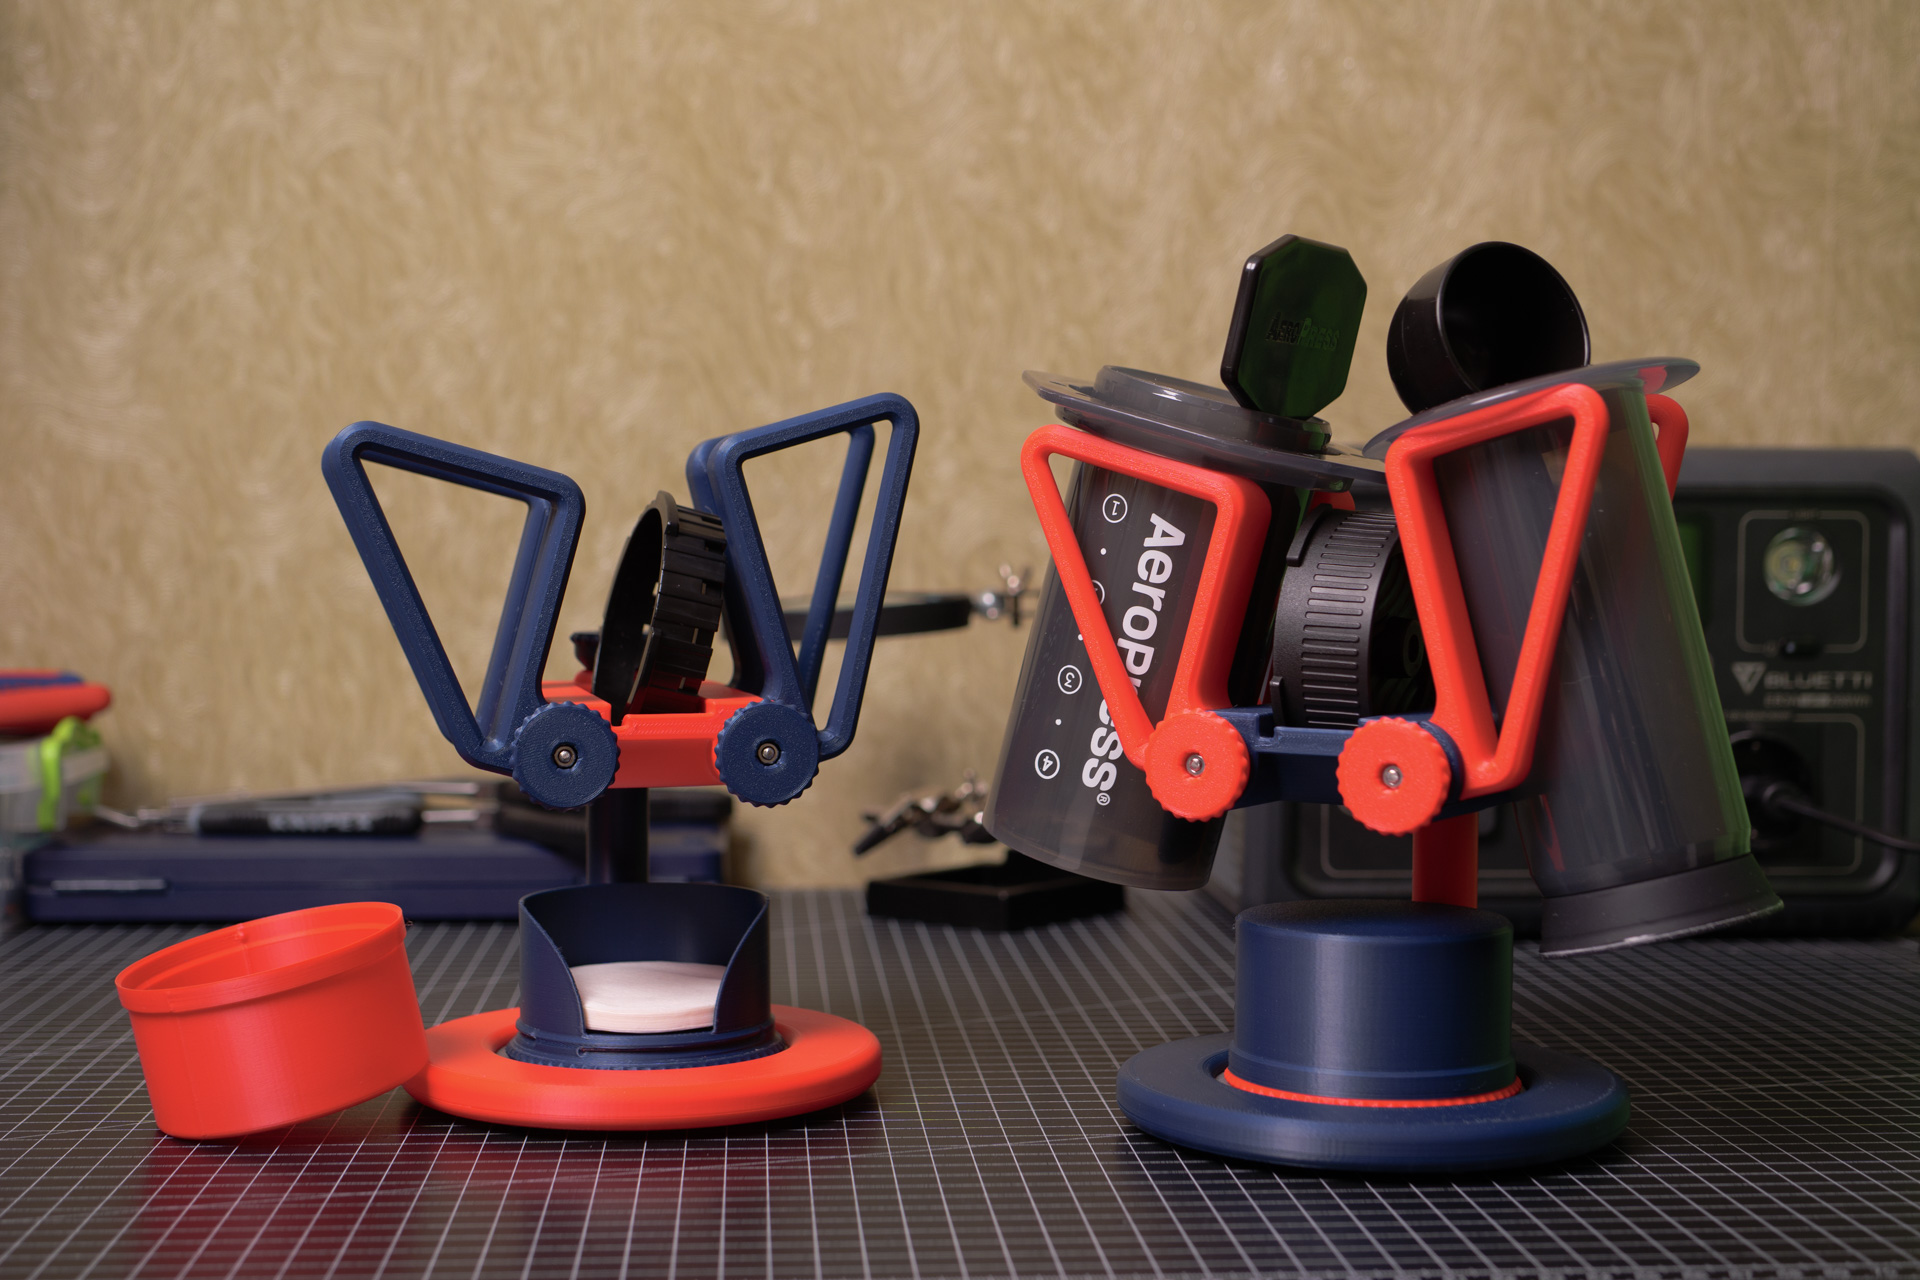
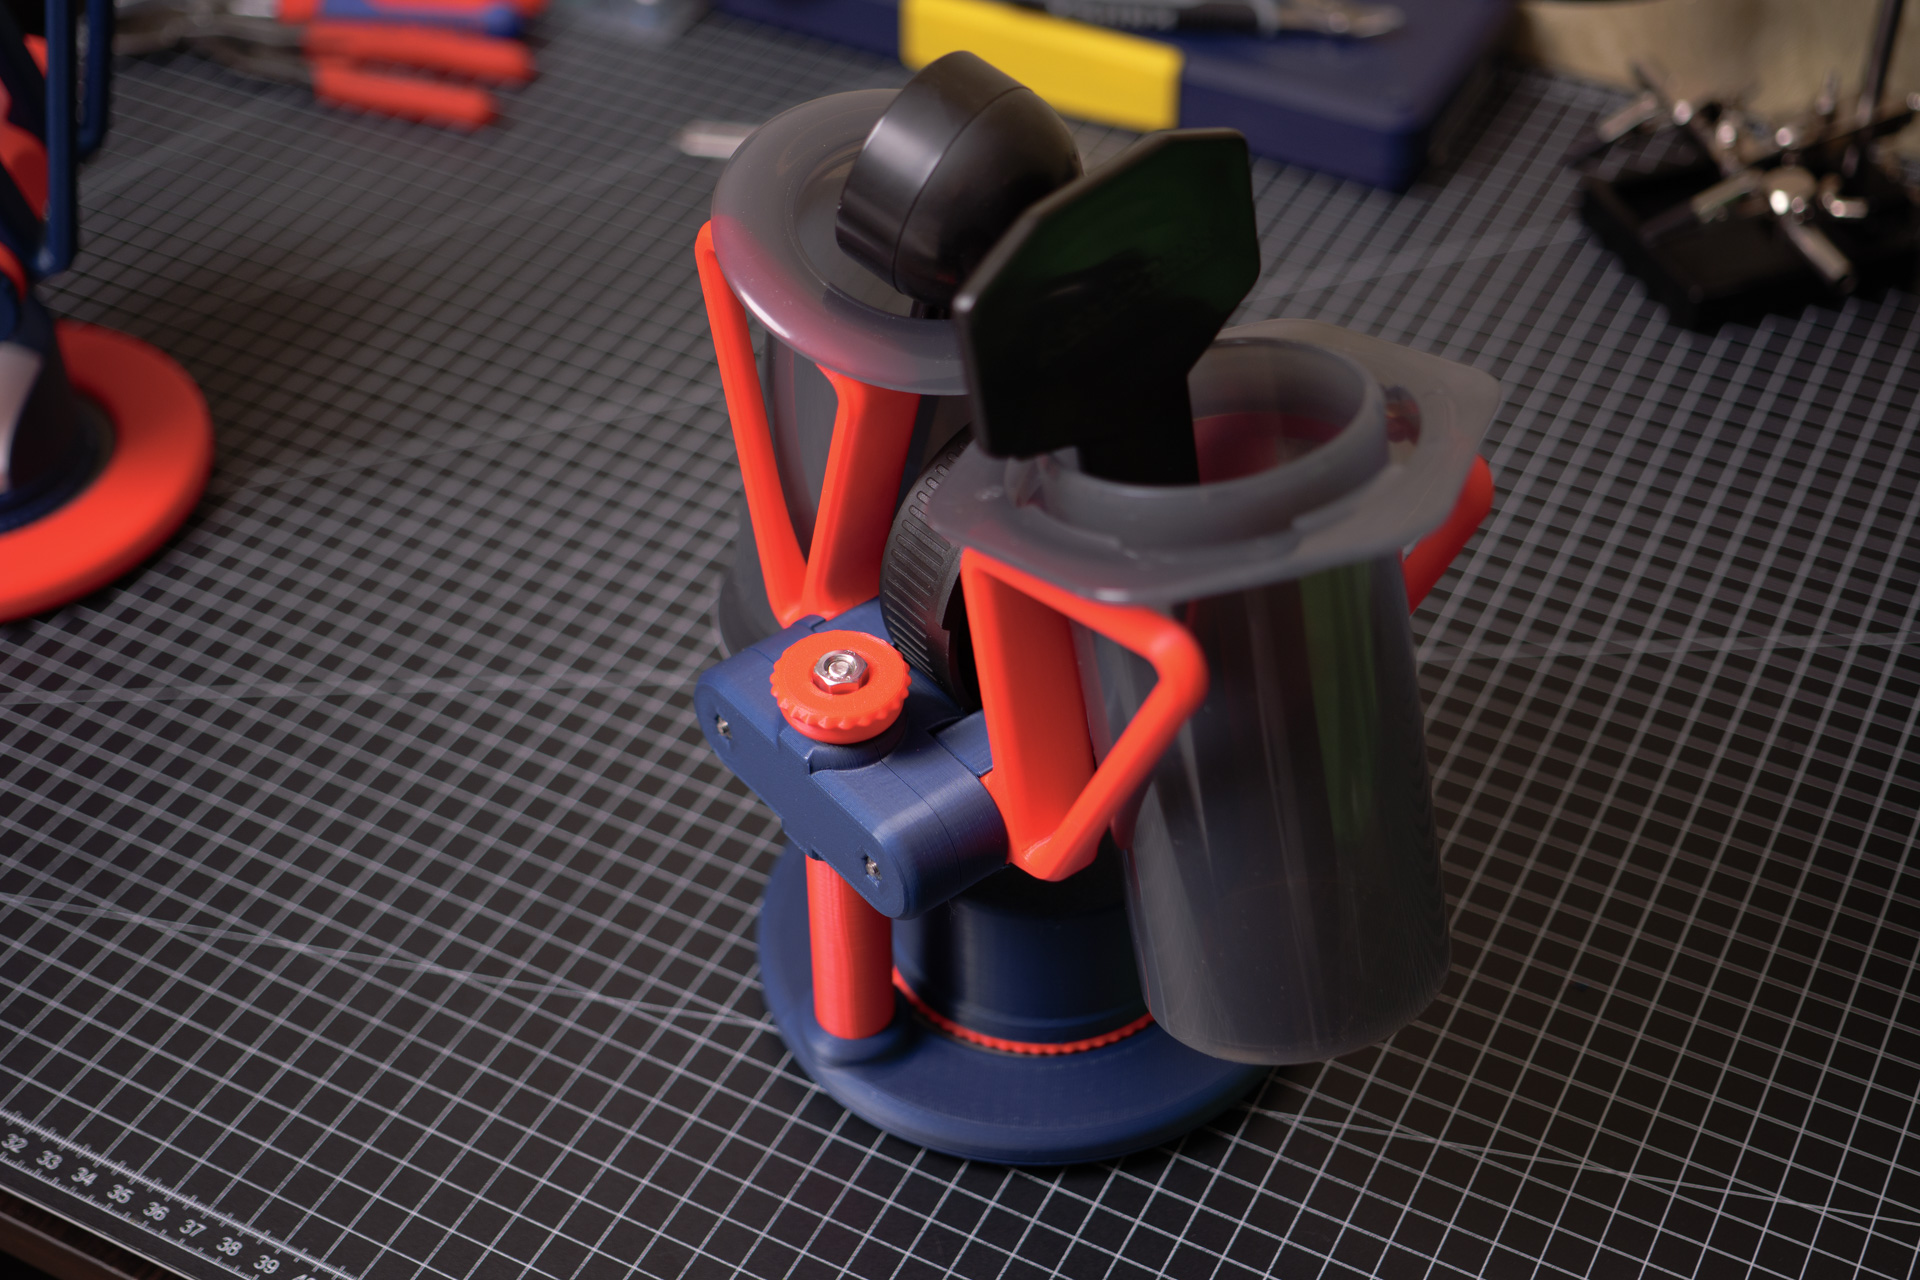
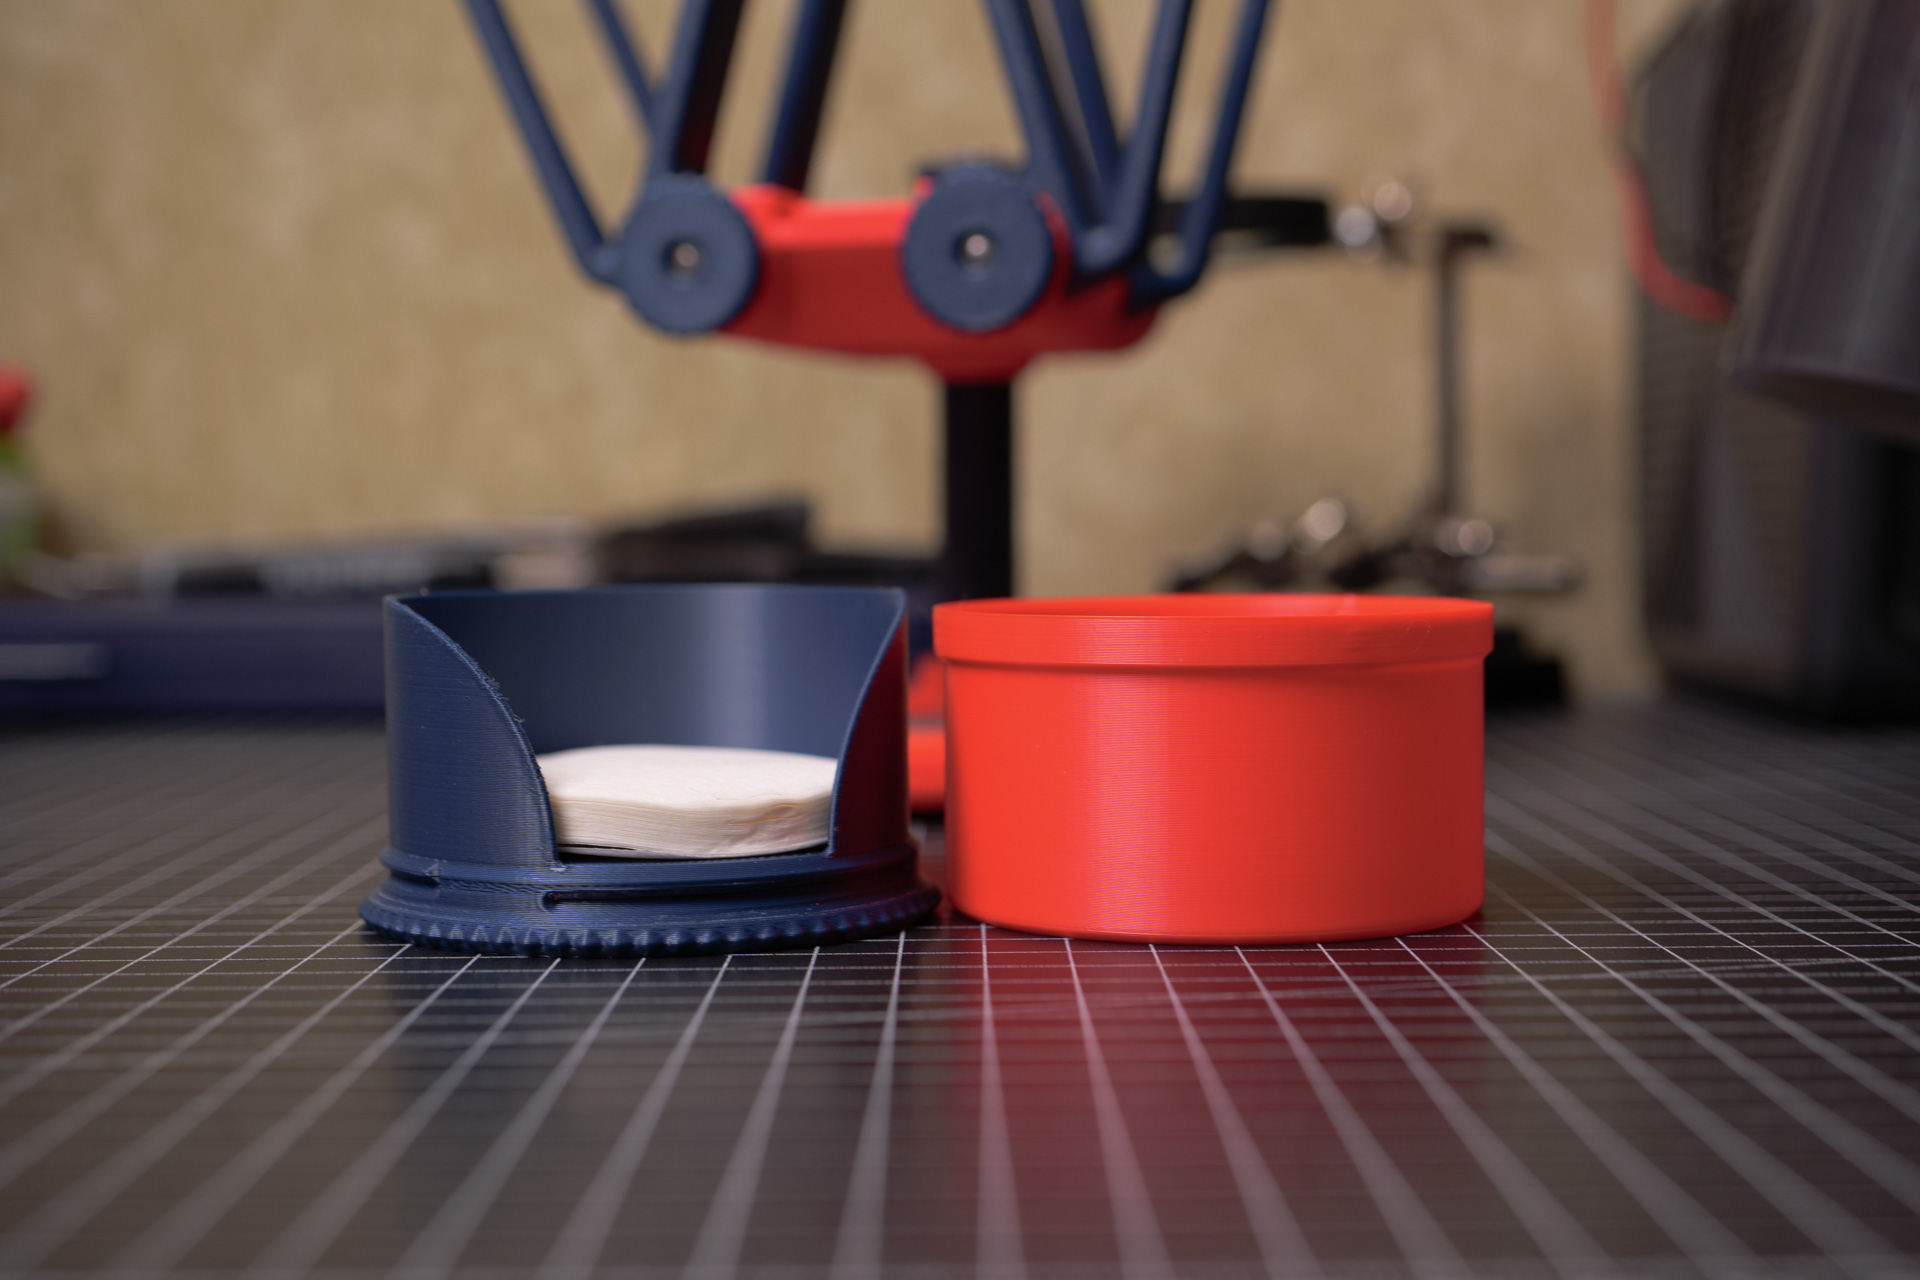
The parts hang in a suspended position, and the angle at which they’re placed creates a useful pocket of space in the lower central area, which is filled with a case for the filters. By experimenting with the capacity of the filter case, I concluded that it should hold roughly 50% - 75% of a big filter pack. That amount lets you maintain a consistent cycle between you add the remaining filters from the pack until you need to buy a new one.
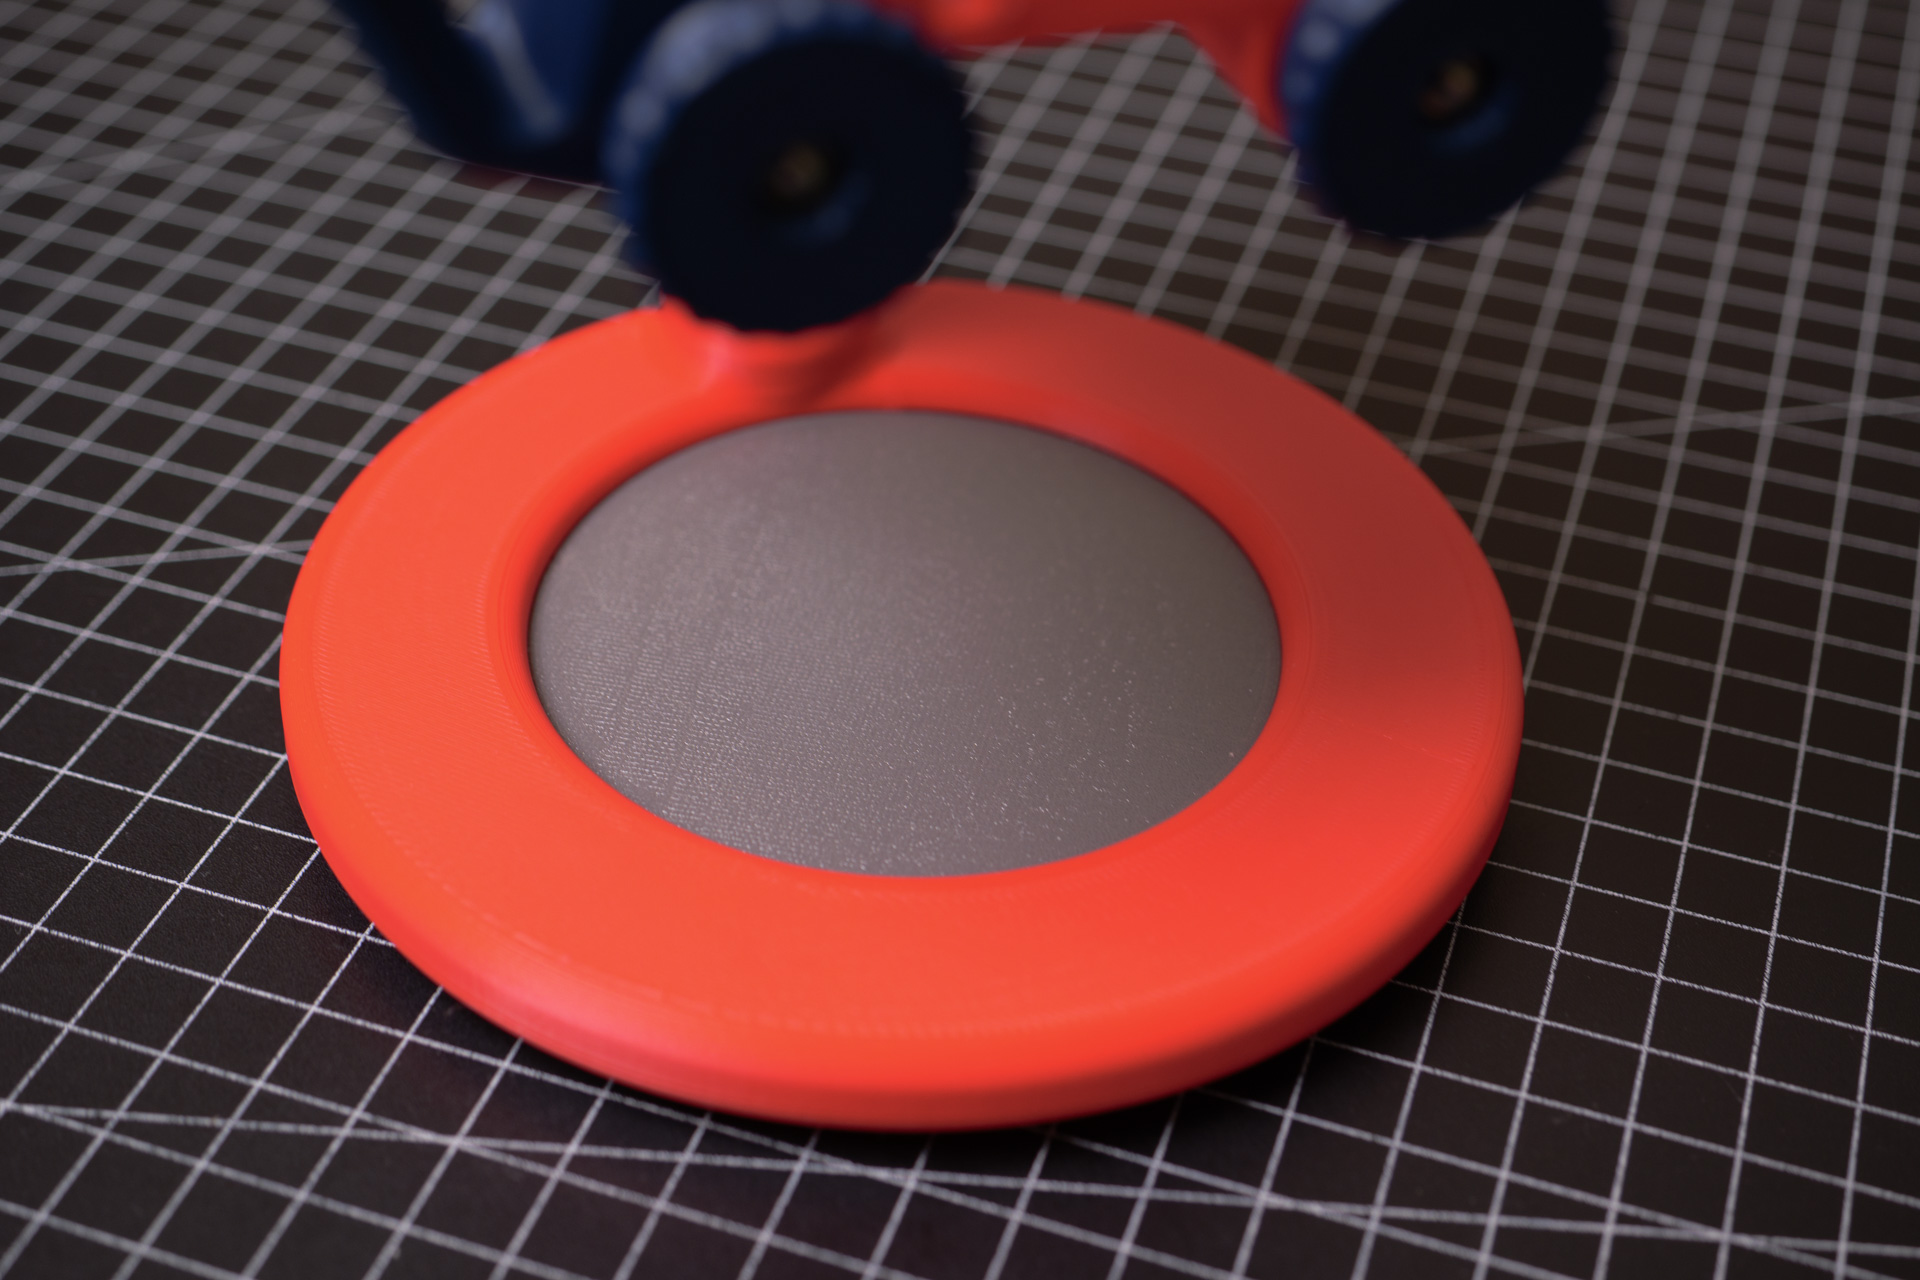
The legs and the filter holder surface are printed from TPU, so they aren’t completely non‑slip, but they’re more than enough to stop the excessive sliding you usually get with plain plastic on smooth kitchen surfaces.
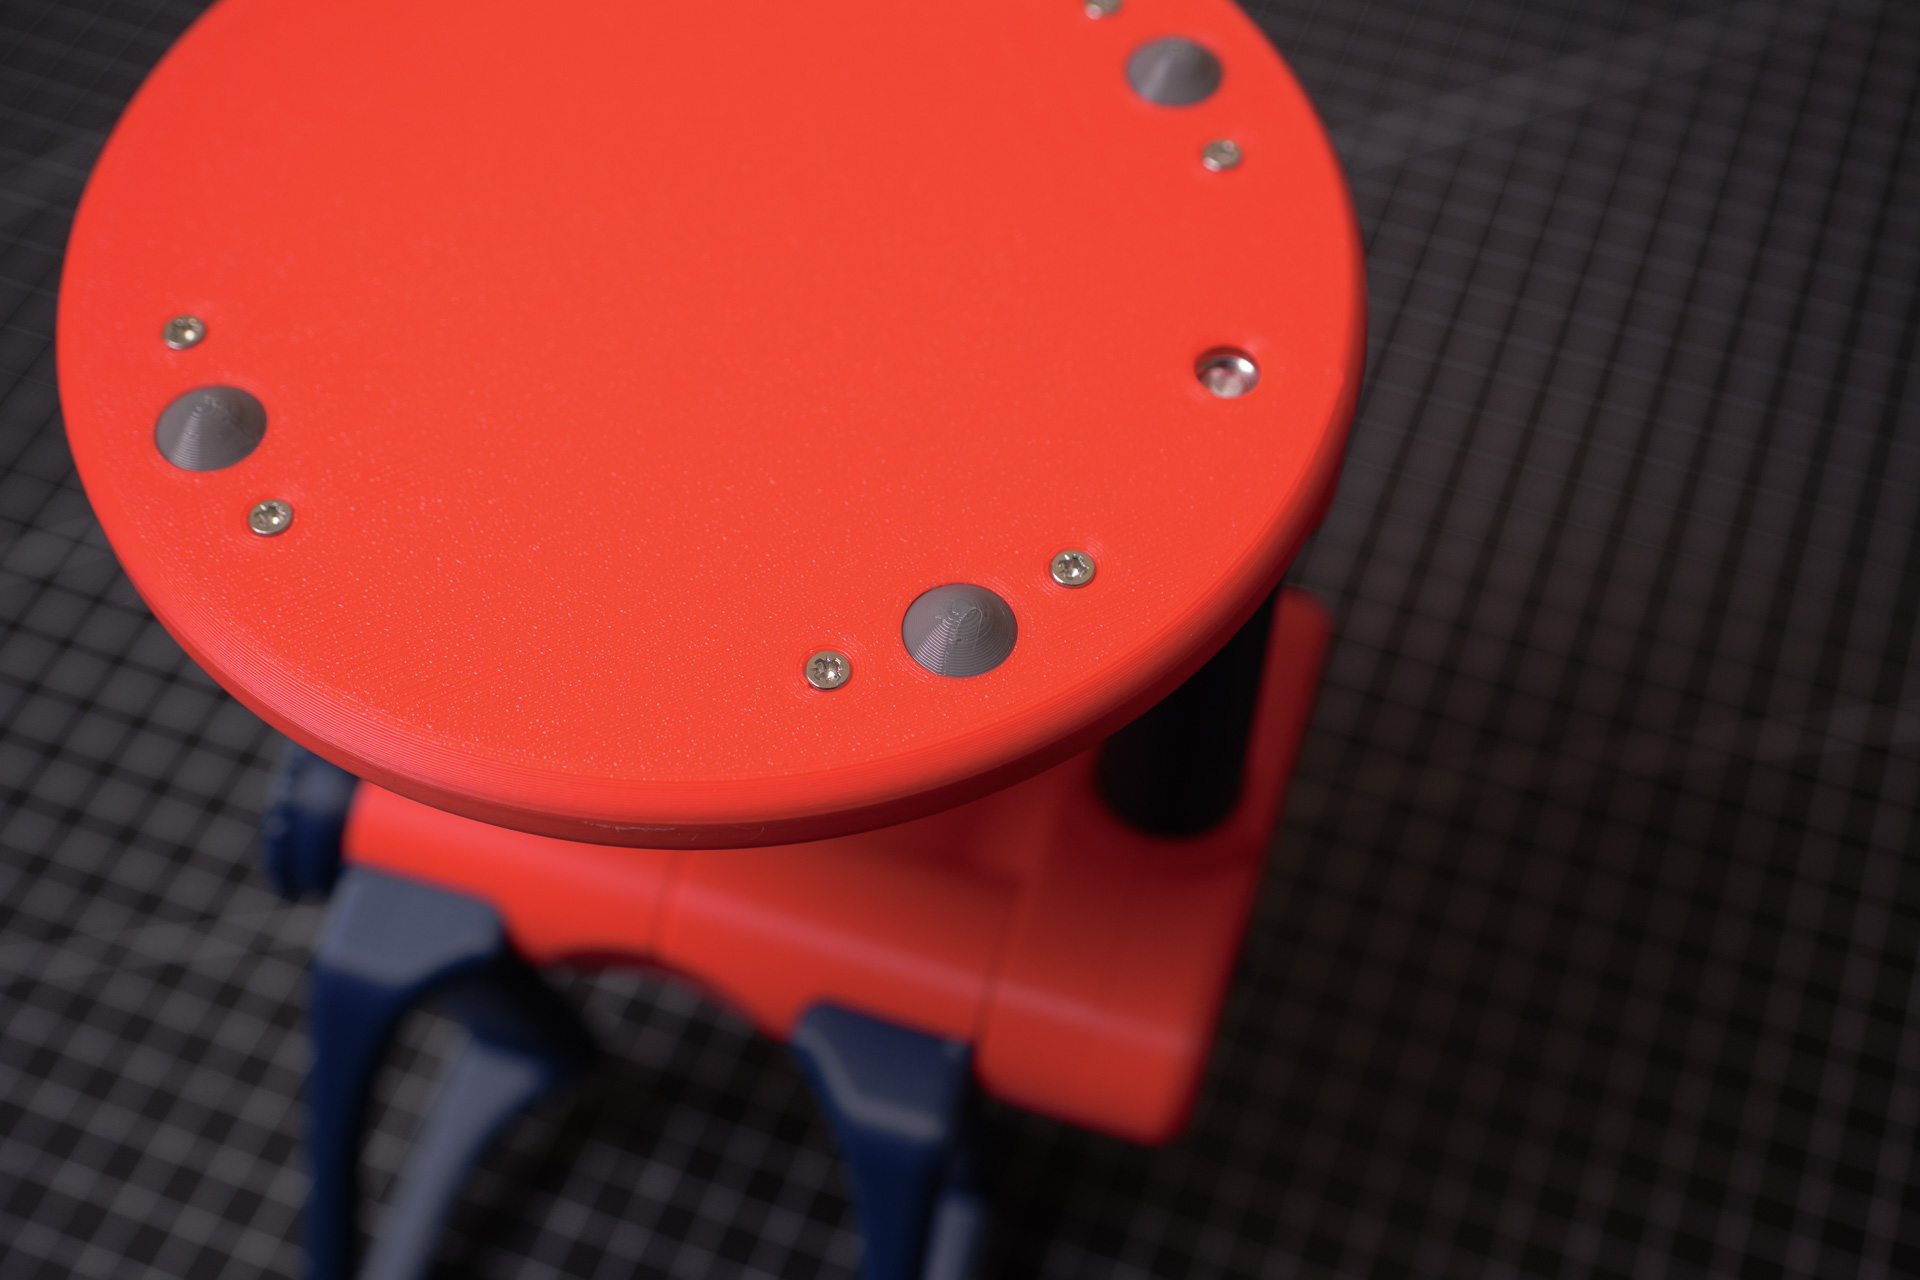
By the way, the inlays made from a different material are integrated without any glue. Using glue for these type of product is completely unacceptable.
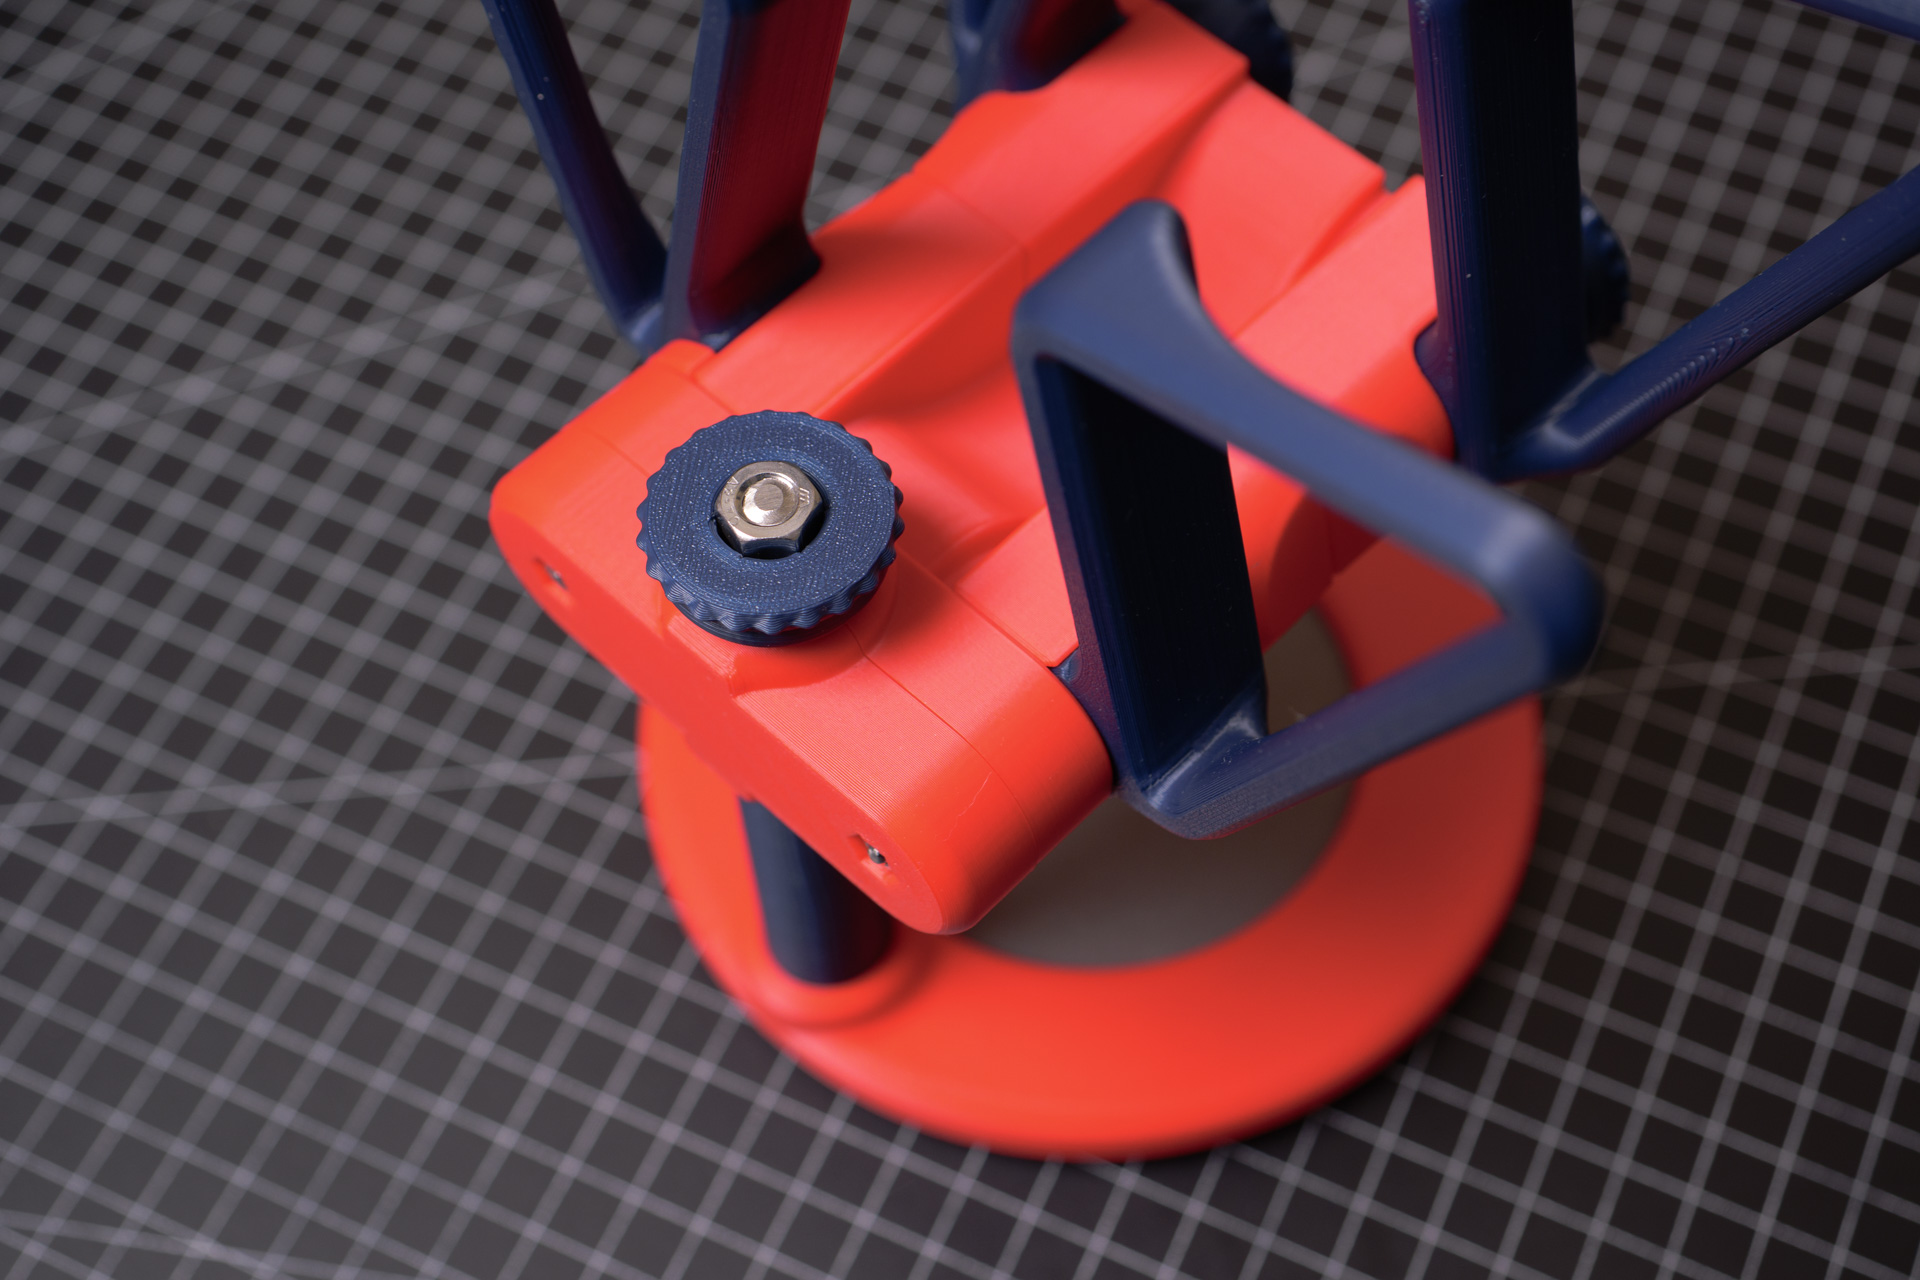
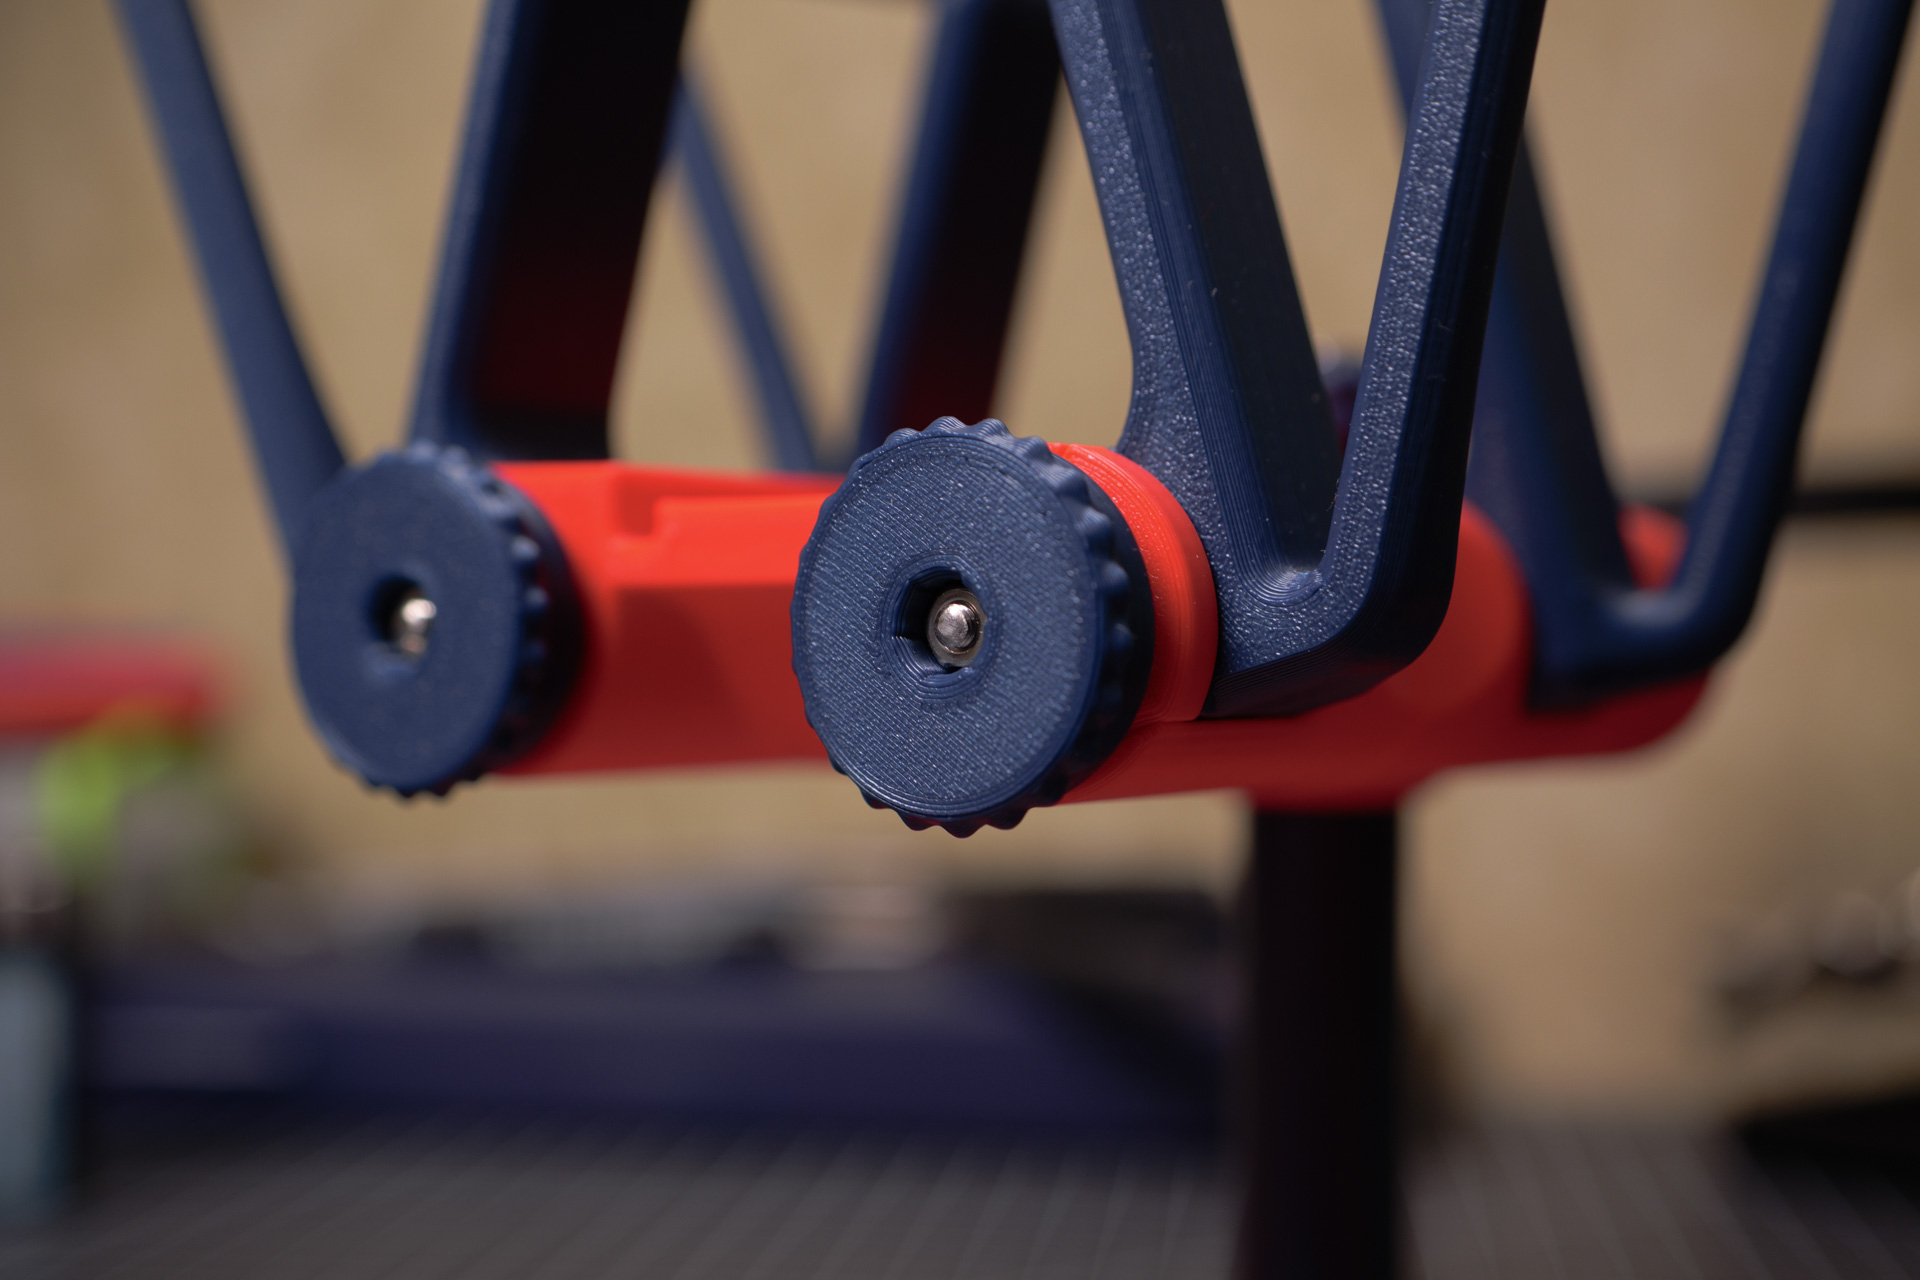
Whole construction holds on stainless M3 and M6 rods. Since the needed bolts length are not available of the shelf nor exist at all, I used a cutted rod and two nuts with locking ring in between that tighten against each other technique.
Maybe I will improve the design later by adding a neat way to locate measuring spoon and stirrer. Also will think about wall‑mountable mod. But right now, version 1 is a finished, working product that I’ll use in my portfolio, so I’m keeping the files private for the moment.
CAD model is fully parametrical so in theory I can adjust it for other AeroPress modifications. But personally, I do not like this obsession with shifting from "one perfect" to "pro premium plus go... yapyap", so for now my design adapted for the classic size and flow control cap.
I need to find some time to describe techniques for adapting the design for 3D printing in details. But right now I’m exhausted, so I’m going to rest a bit and make myself a cup of coffee. See ya.
Created by TennojiM
All rights reserved
© 2026
All rights reserved
© 2026