PROBLEM
Not long ago, I encountered a very absurd and at the same time unpleasant situation. I will tell you now.
I shoot videos and photos for this site using the Panasonic Limix G9II. For flexibility of use, I put the camera in a SmallRig Black Mamba cage. With the help of additional 1/4" holes, it provides plenty of flexible solutions for mounting various additional elements. But for me, it was more important to have an Arca Swiss bar at the bottom of the camera, which will always have a fixed position and will not loosen over time. This cage is screwing to the camera with 1/4" screw at the bottom and additionally using strap ears of the camera for two additional points of fixation. Thus, the camera is fixed in the cage at 3 points that directly relate to the internal frame of the camera. Such a connection is very reliable and the load from the weight of the camera with the lens is evenly balanced throughout the camera frame, and not only relying on the 1/4" hole.
So, there are a bunch of 1/4" holes on the cage you can use to screw various attachments to them. I am using articulating arms from the same manufacturer. So company is the same, format is generally universal, but... but we are moving on to the problem.
Each end screw of the articulating arm has a screwed in stopper pad that limits the depth to which the 1/4" screw can be screwed in. A time ago, these pads had a solid rubber washer glued on them. But under load it was deformed easily and peeled off. Now it has been replaced with an inlaid O-ring, which, although not irreversibly damaged, is also compressed more easily than it provides any frictional resistance. Simply put, both options do not work.
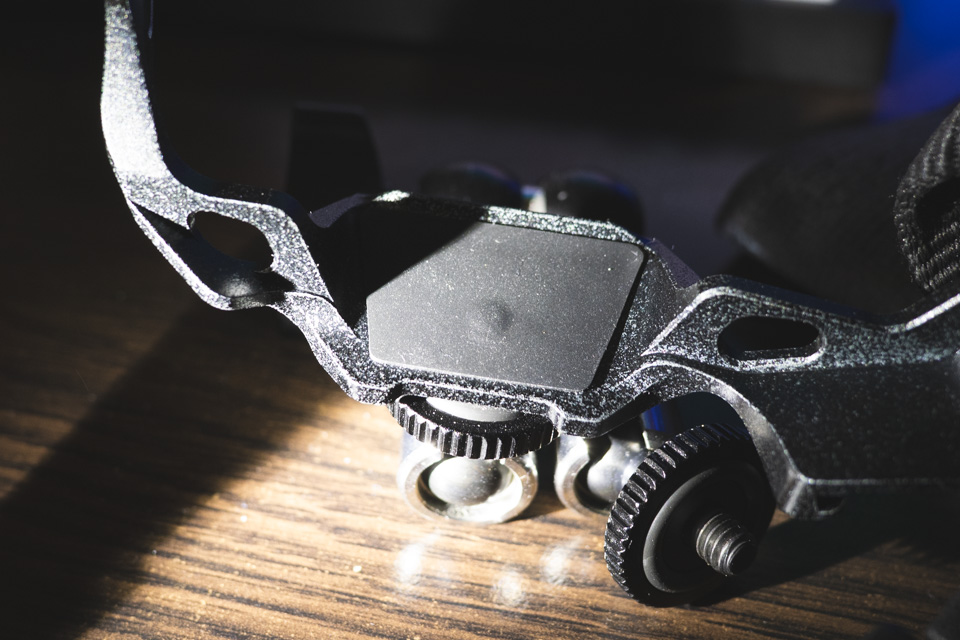
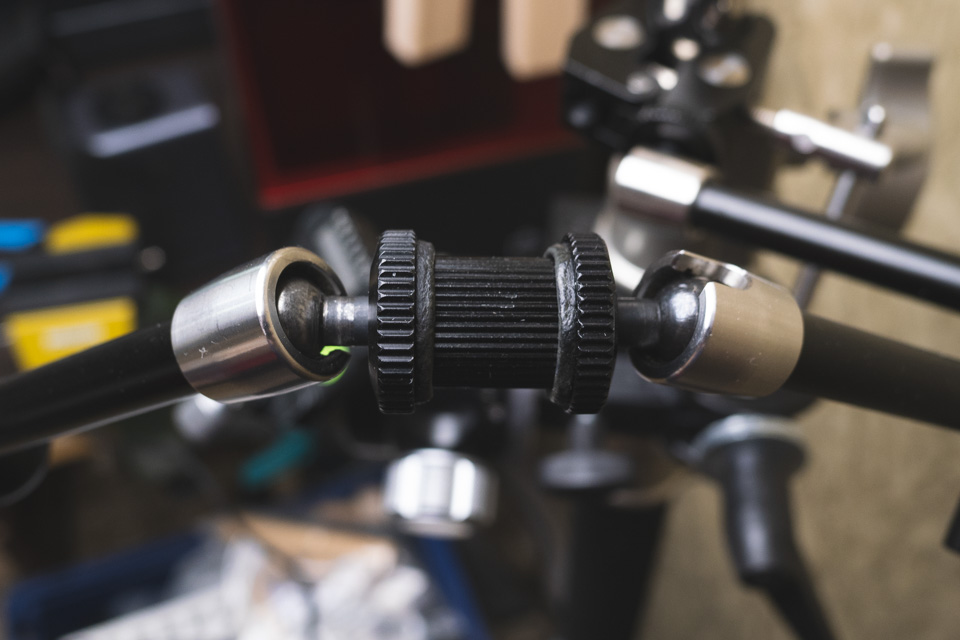
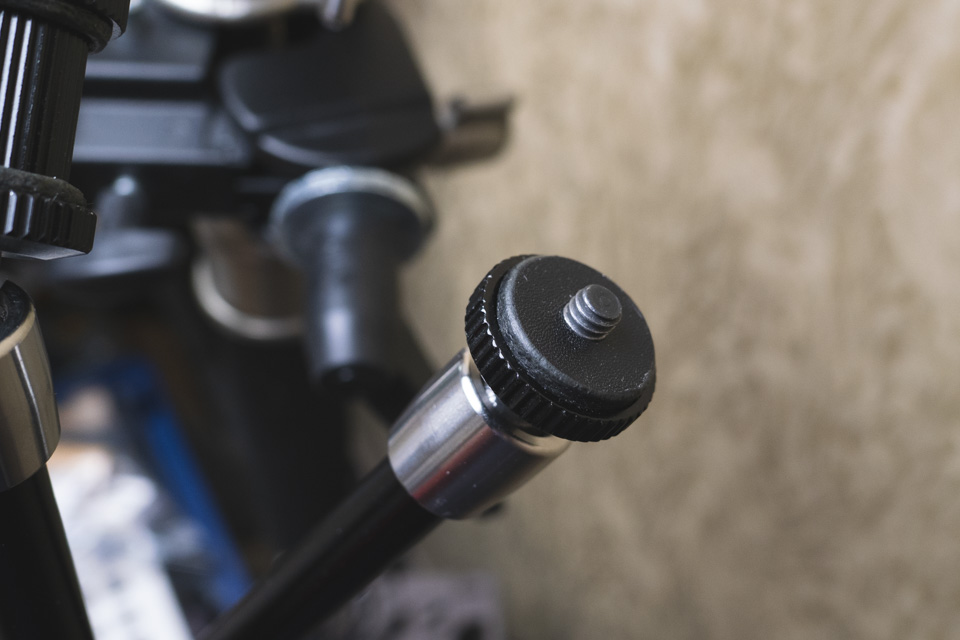
But the issue is much bigger than it seems. Let me show you the example of a stopper with an inlaid O-ring, as a more relevant option. Even with a stopper and a rubber ring on it, the screw goes deeper than the thickness of the cage wall. So, eventually, the screw will start to dent into the body of the camera installed inside the cage, which will irreversibly damage it.
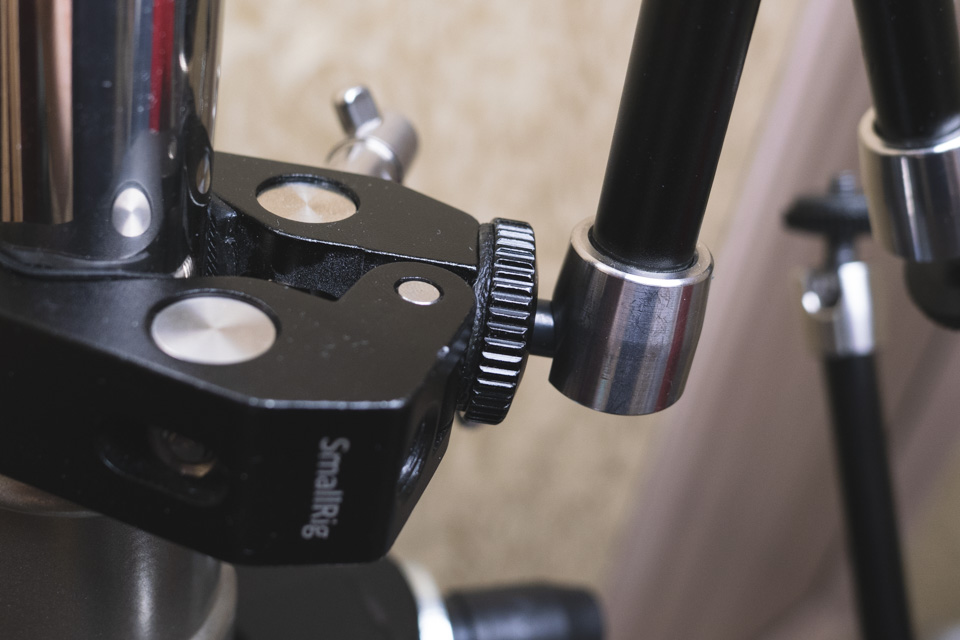
Here's a photo which I specifically made under bright light so you could analyze the severity of the problem. If I had screwed the articulating arm to the side of the cage, I would have made a dent in the camera body.
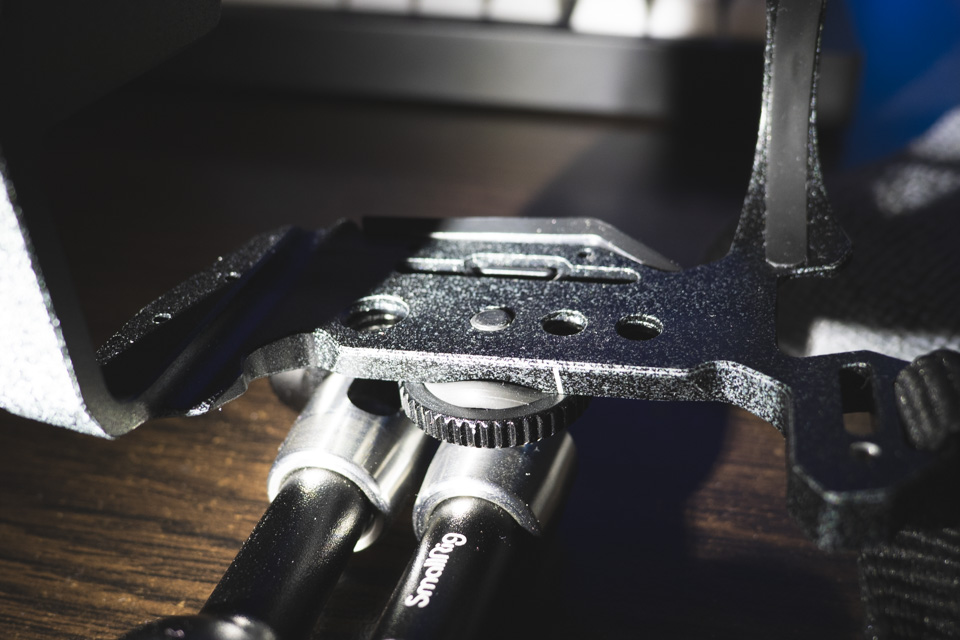
I was lucky that the first time I screwed the articulating arm into the top hole, the screw got stuck in the rubber gasket between the cage and the camera body. But even here you can see how much it sticks out under the rubber.
There's a general difficulty with unification between companies. But here's a cage and an articulating arm from the same company... This is ridiculous. Unfortunately, lately, even in the premium segment, I've constantly seen the need to refine and modify something. Another proof that without tools and the ability to do something with your hands, it's difficult in almost all areas now. That's it, I'm done complaining. Let's fix the situation.
SOLUTION
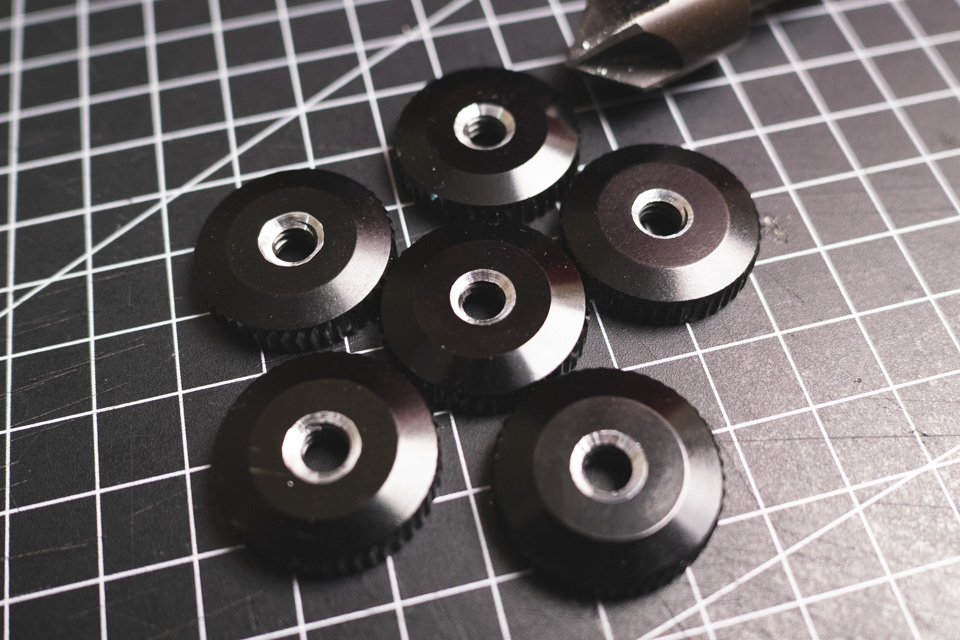
Firstly, some small additional things to do. It turned out that if you are screwing the articulated arm pretty tightly, the screw thread begins to damage the edge of the stopper pad, raises the burr there and jams.

I am adding a chamfer on the side of the stopper pad that hits the articulating arm screw thread end. 5-petal countersink for wood and non-ferrous metals do the job. Yes, it also deforms a little from tightening. But it deforms in a controlled way, it will not form sharp chips and will not jam.I am adding a chamfer on the side of the stopper pad that hits the articulating arm screw thread end. 5-petal countersink for wood and non-ferrous metals do the job. Yes, it also deforms a little from tightening. But it deforms in a controlled way, it will not form sharp chips and will not jam.
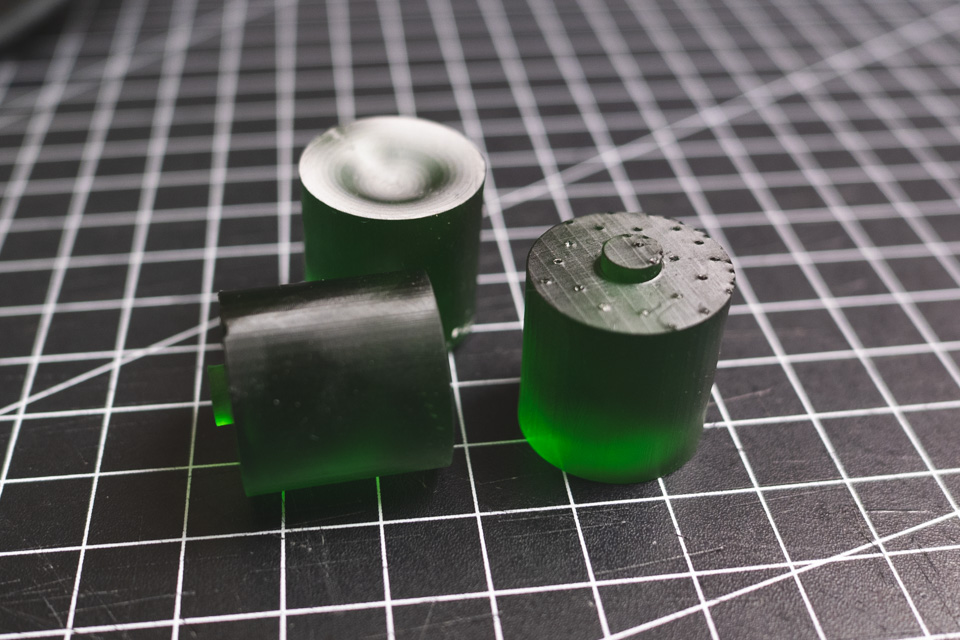
And now to the main part. As I said, all these rubber washers and O-rings do not work whatsoever. So let's replace them with something more reliable and, most importantly, with something thicker to reduce the maximum depth of how much the screw will be screwed in the cage. Whether someone likes it or not, but still the best anti-friction properties during clamping is given by genuine leather. That is why you can see leather jaws pads on the most craft vises.
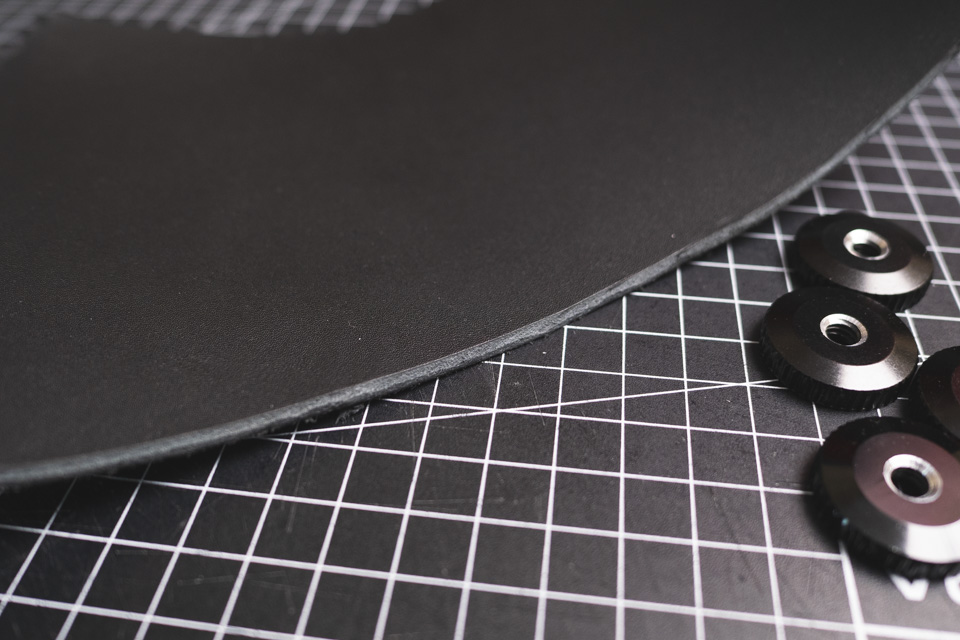
I recommend finding some thick belt leather. It will be soft enough, but the way the fibers are arranged in the leather will still prevent it from flattening and coming apart, even with very high compression forces.
I bought this black 4mm belt leather for the price of the scraps from one of the local craftsman.
To make cutting the bagels easier and more accurate, I printed out these simple templates.
We need to do a 6mm hole in the leather for alignment of this template. It doesn't matter how you make it. If you have special leather punches, that's great. Personally, I firstly am simply drilling these holes against a plank of wood to avoid leather grains tearing.
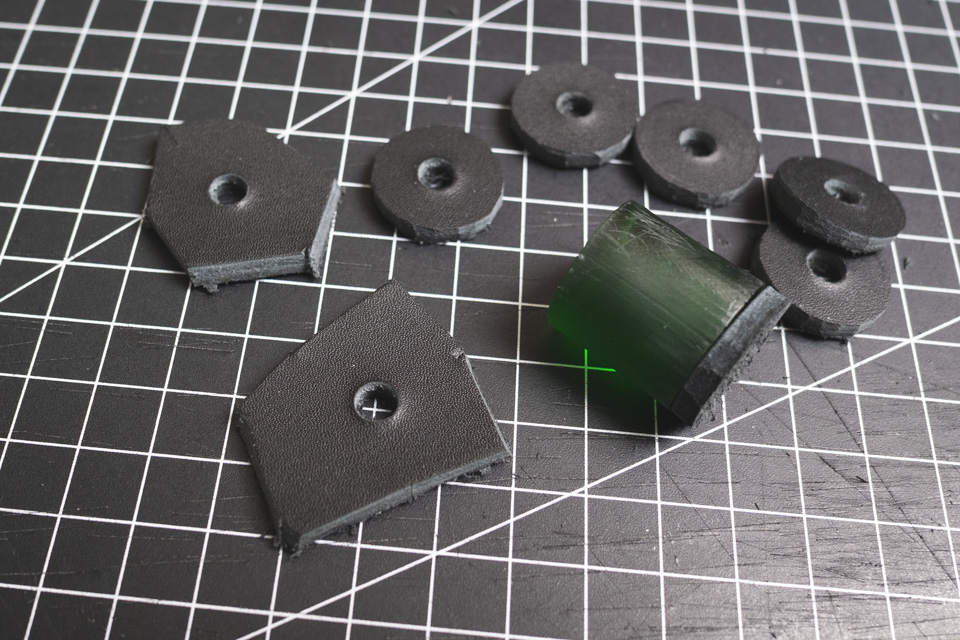
Next, you can insert the center part of the template into the hole and either trace the circle and cut it out later, or use the template to guide the cutting tool. I use a sharpened carpenter's chisel for this. It is easy to align it along the template edge, perpendicularly to the leather.
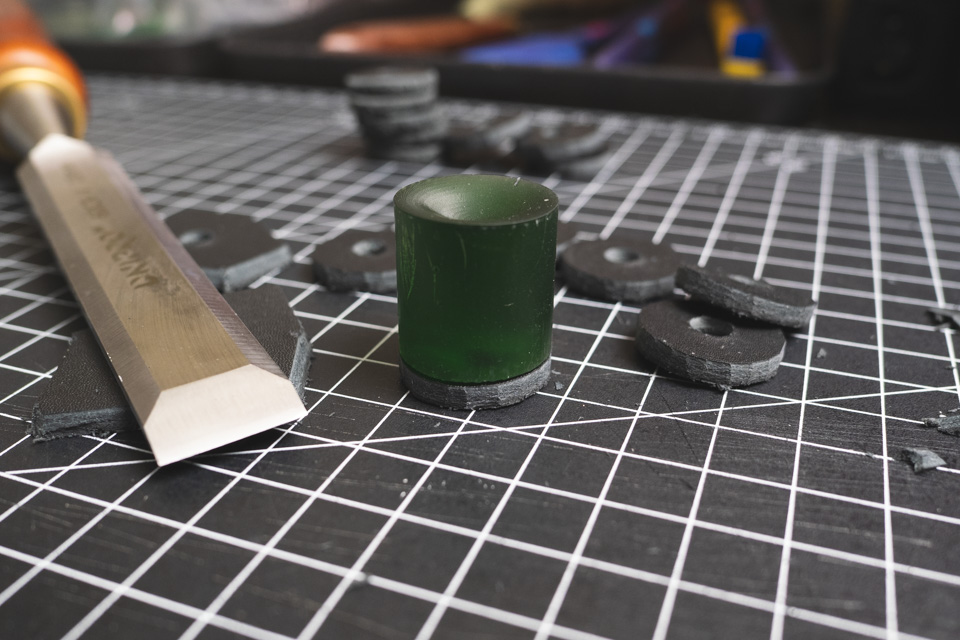
No matter how accurately you cut the bagel, it will come out a bit angular anyway. I am using 120 grit sandpaper to round up the overall shape a bit and to make bevel on the edge for the finish.
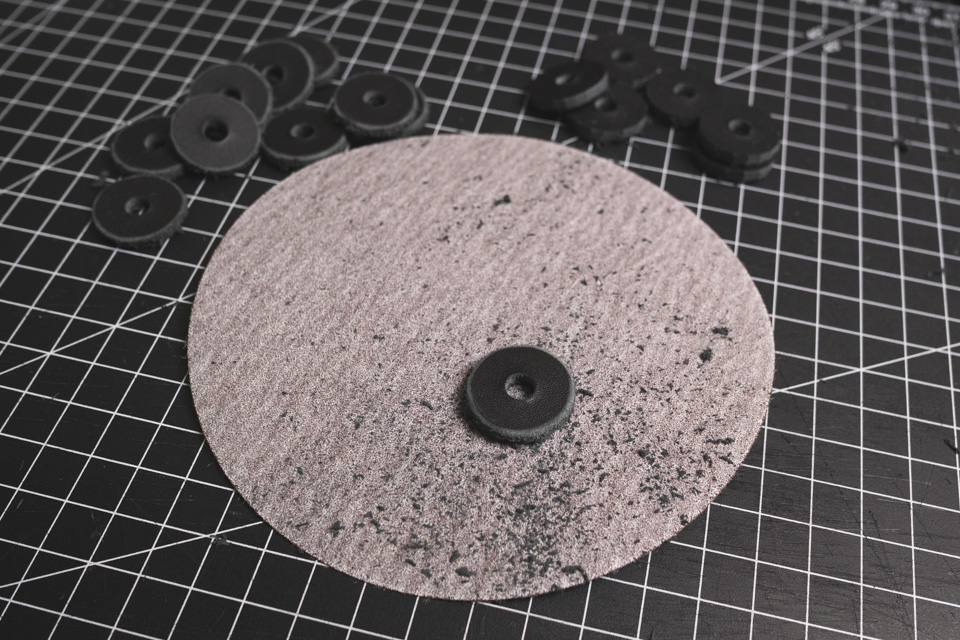
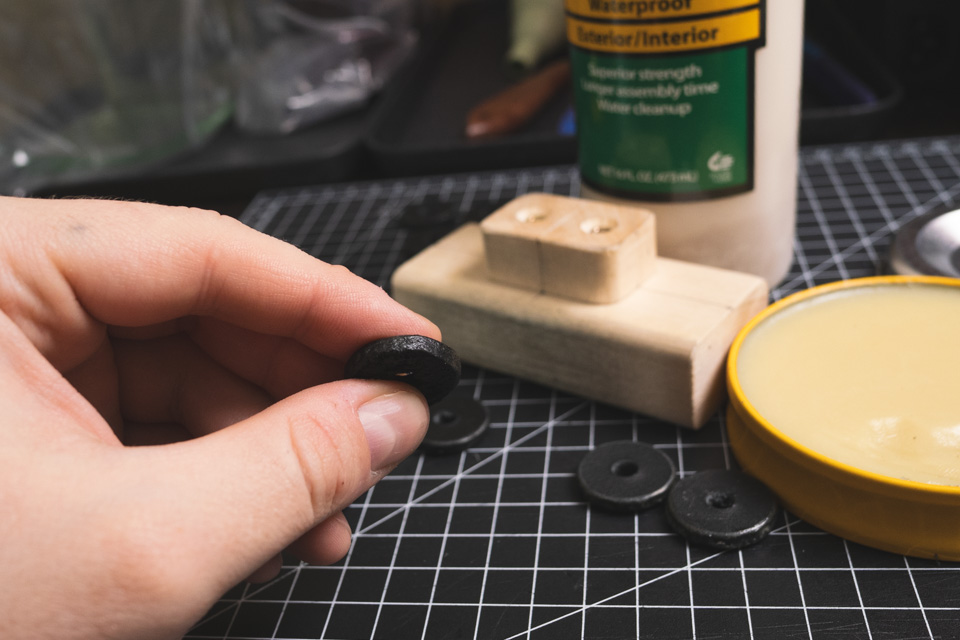
Burnishing of the leather edges is good to have, not only for aesthetics, but also to prevent the leather from unraveling. I am doing this in the cheap way. Simple wood glue works perfect to bond leather grains. Applying small amount on the edge. Waiting for the lather to absorb it. Adding a bit more. Waiting for the glue to thicken and stop sticking to other surfaces. Adding simple shoe wax and buffing the edge over the soft wood block.
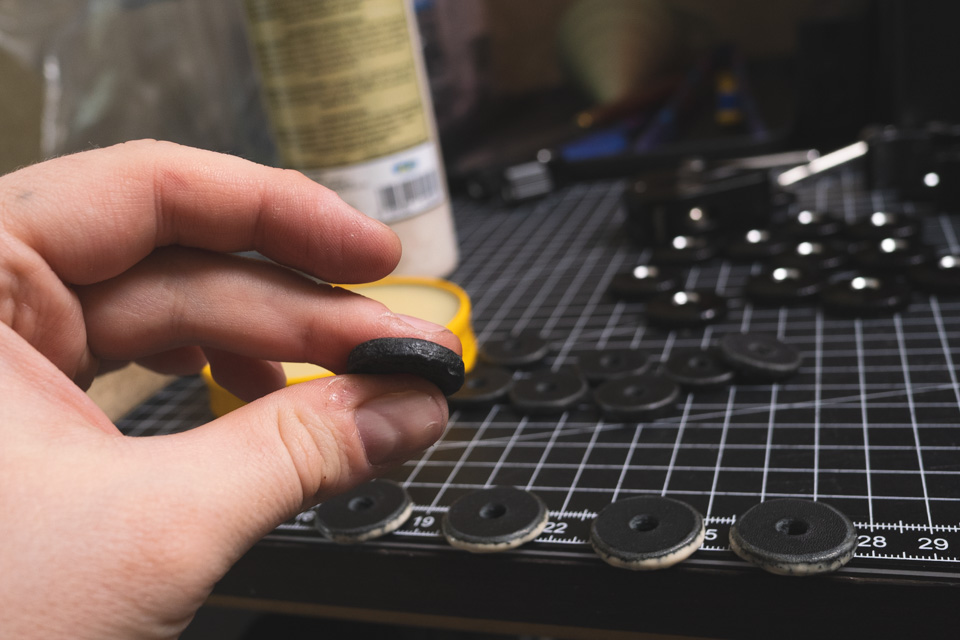
Yep... maybe not the prettiest one, but I'm not teaching you how to make beautiful leather bagels, but I'm telling you how not to mess up your camera and make articulating arms more stable.
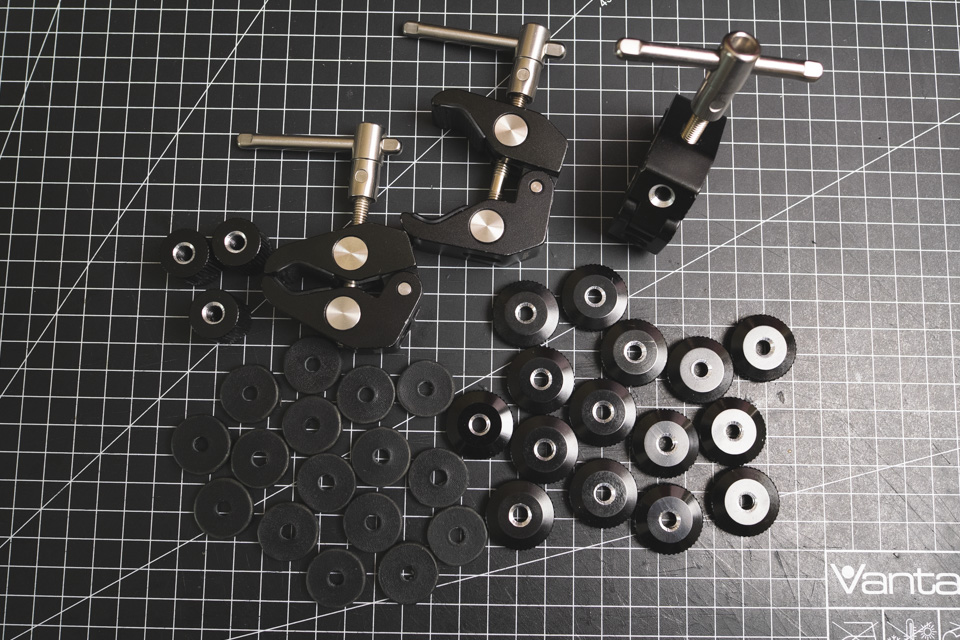
One thing to be noticed. For modern version of stopper pads with inlaid O-rings, better to take a bit more thin leather... 3mm maybe. I am reassembling my old articulating arms pairs with older version of the stopper pads where rubber washer used and 4mm works perfect. Here all smaller parts chamfered and ready for assembly along with DIY leather pads.
So now let's try what we got here. As I said, genuine leather deforms within the limits of what is possible, but does not unravel, and its surface has excellent anti-friction properties. So when you tighten something with such a washer, it will not unscrew simply by itself. Of course, this is still a screw fastening and the longer the lever, the more unreliable it will be, but for the purposes for which such tightening is used, it fully justifies itself. And it is definitely many times better than those shoddy rubber crap that the manufacturer used there.
And that's it. Don't make any dents in your cameras. See you later.
Version: 2025_05_06_000001
Created by TennojiM
All rights reserved
© 2025
All rights reserved
© 2025