Recycling materials by the efforts of each individual is a great thing. One of the efficient ways of recycling is recreation of PET bottles in to 3D printing filament. Amount of such machines design grows. I am waiting for some hardware to build my own variation. And while I am waiting I decide to create my version of PET bottle cutter.
There are many models of tools to cut bottles in to continious stripe. The basic one is made from bearings with sharpened edges (
link). There are also many that use blades from utility knives. But almost all of these options has fixed design that is only suitable for one fixed stripe width and sometimes only for one fixed bottle format. So I decided to develop my own version in which it will be possible to precisely adjust the width of the stripe and which will produce uniform result. Since I don't really like the idea of sharpening bearings like any other ideas where things are not used for their intended purposes, in my version the cutting element will be a knife blade... of any format, which is very important.
After 3 full iterations and even more intermediate designs that were rejected at the CAD stage, I achieved an effective result. But, as always, I tried to make a parametric model in most points, so everything can be changed in different ways.
The design is symmetrical. Thus, you can choose from which side and in which direction it is more convenient for you to cut the bottle.

Base plate can be mount on the wooden board with 3mm wood screws and wooden board can be clamped to the table on in to the vise.
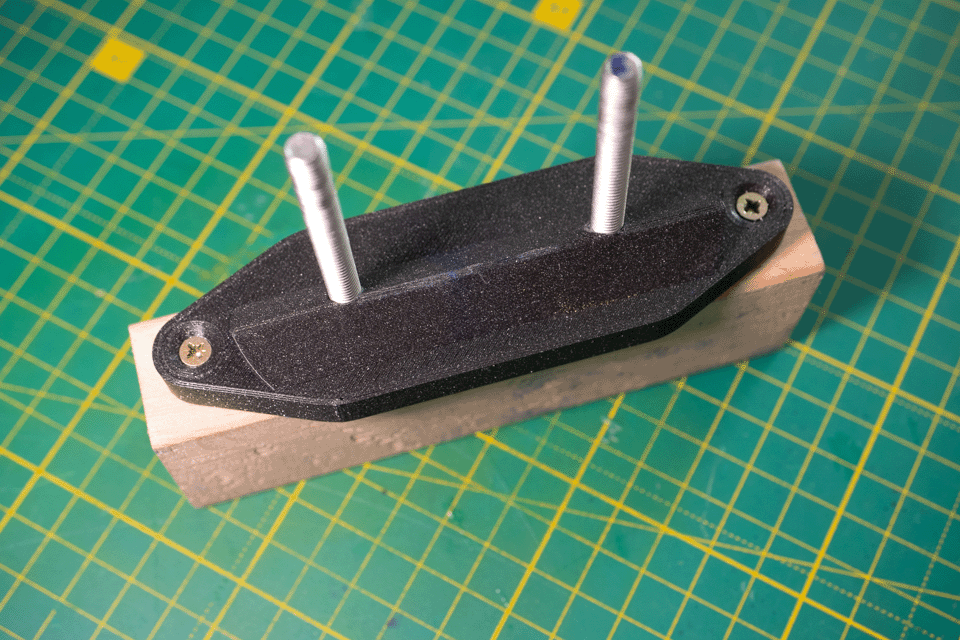
Each column based on a DIN933 M6 bolt axis and can move 3 millimeters to the center of construction, so if one column is fixed from the beginning, the other can be shifted to adjust the width of the groove to hold the stripe tight and prevent it from deflecting.
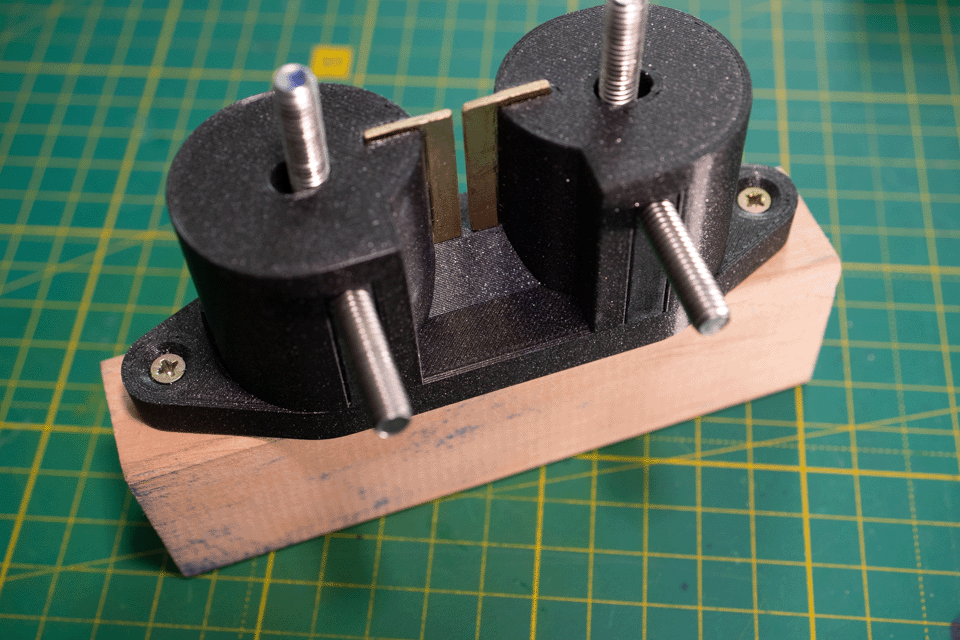
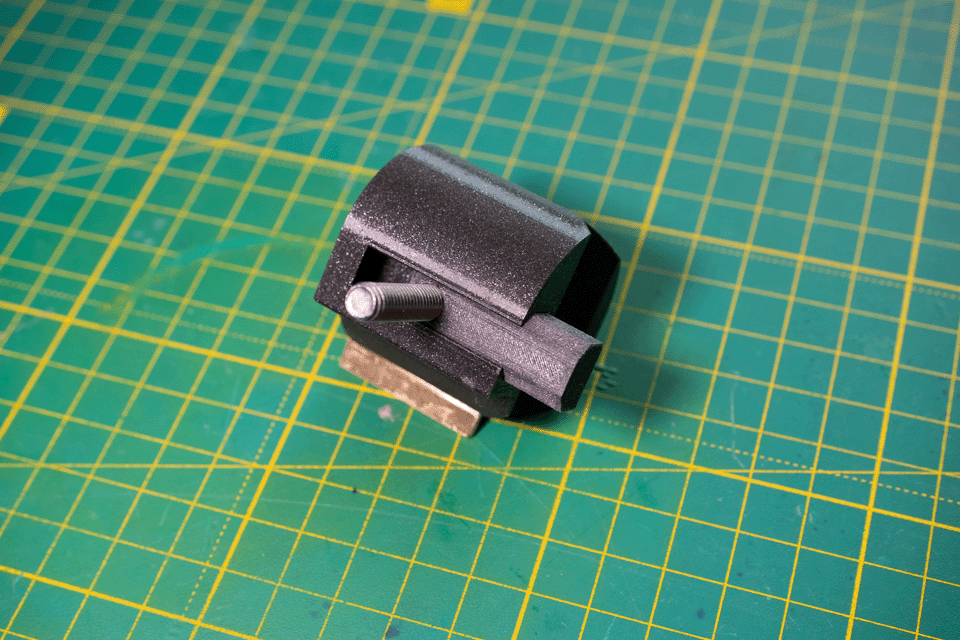
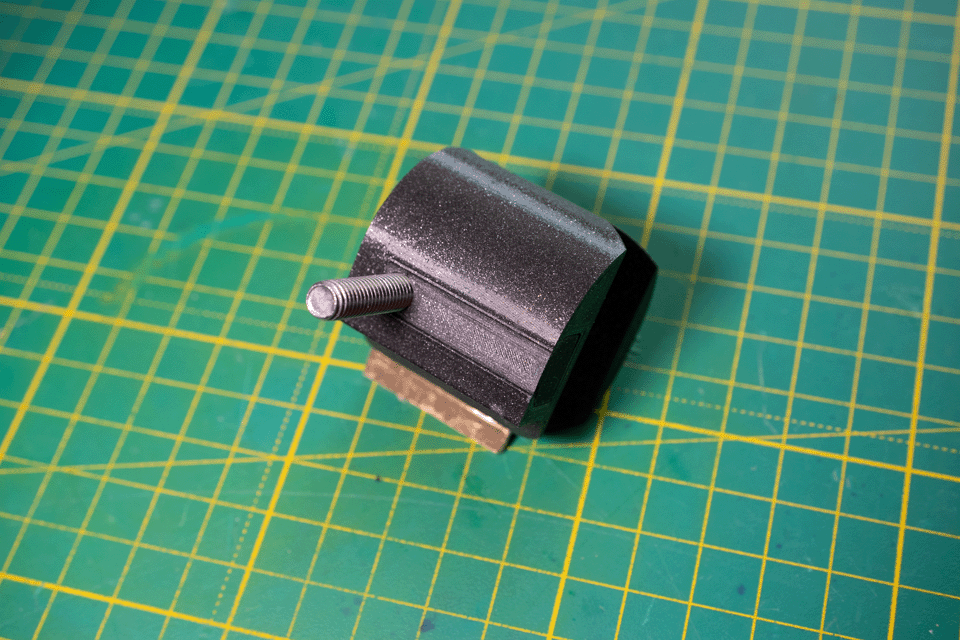
Each column has an embedded element into which you insert a DIN933 M6 bolt to attach auxiliary elements.
Stripe width adjusting mechanism should be screwed on movable column. With it you can vary the width of the tape from 0 to 18 millimeters.

Also you can screw guide rod on the fixed column. For now I am looking for a telescopic pointer and will think how to attach it in the best way. In the meantime, you can just point the bottle with your finger.
All friction points are made of 1.5mm brass. I am currently in the process of topic about integration of not specialized metal elements in to 3D printing. Meanwhile, all the brass plates are glued into the grooves with thick cyanoacrylate glue.
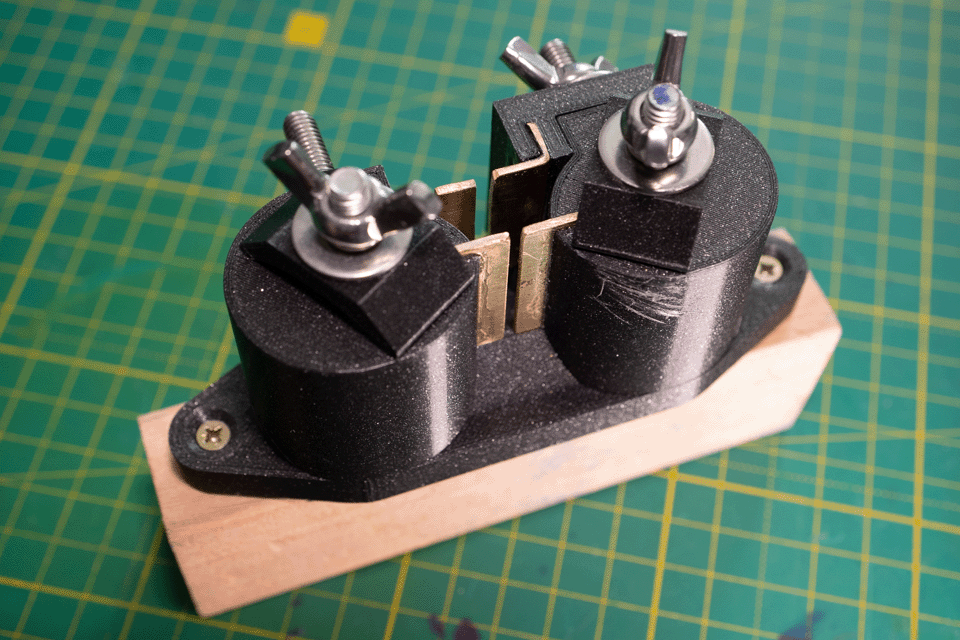
As cutting element you can use almost any blade type. Because the blade holding clamps are rotating on the column axis they can reach almost the entire perimeter of the clamping zone.
Because blade are simply laying flat on the column top surface and restricted from repositioning only from the side of cutting edge you can easily shift it a bit if one of the blade points eventually get dull. I am using an OLFA black hardened blade but thinking about some blade with one side sharpening.
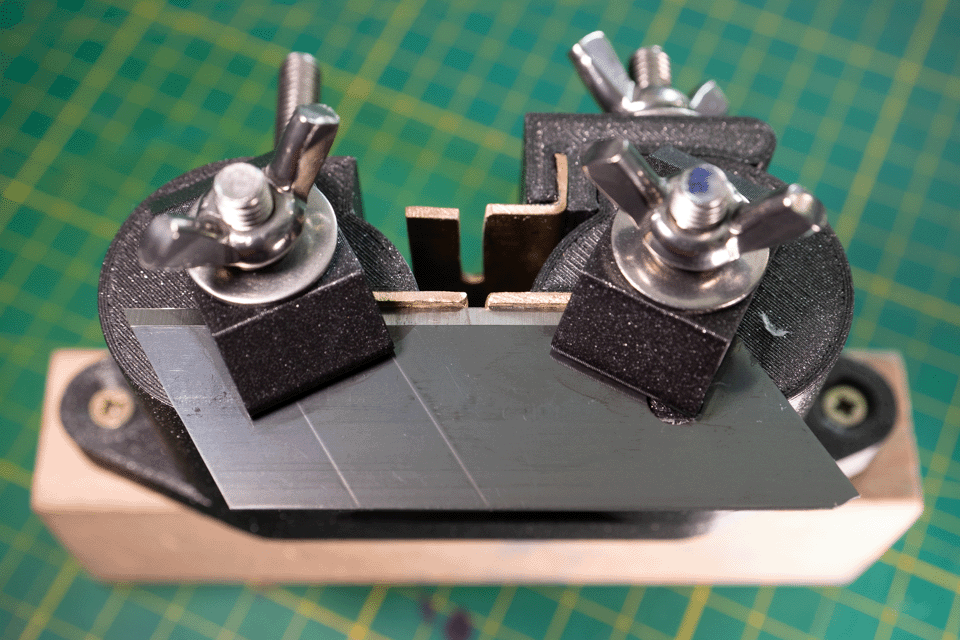
This design does not require you to make initial cuts, as you have direct access to the surface of the blade. Only one thing is highly recommended is to make initial cutoff of the bottle bottom clear and straight without wobble.
Here some quick demo of how it works.
Here you can find latest
CAD model.
And here you can find
STL files exported.
For sure I already see bunch of improvements I can make but as you can see from the video it is already works fair enought well. Will be updated, but not now.
Created by TennojiM
All rights reserved
© 2026
All rights reserved
© 2026