Intro
Somer time ago I mentioned there that I want to create my unique design of machine for recycling PET bottles in to 3D printing filament. There are plenty designs from other enthusiasts available online. However I want to create most compact and simple one.
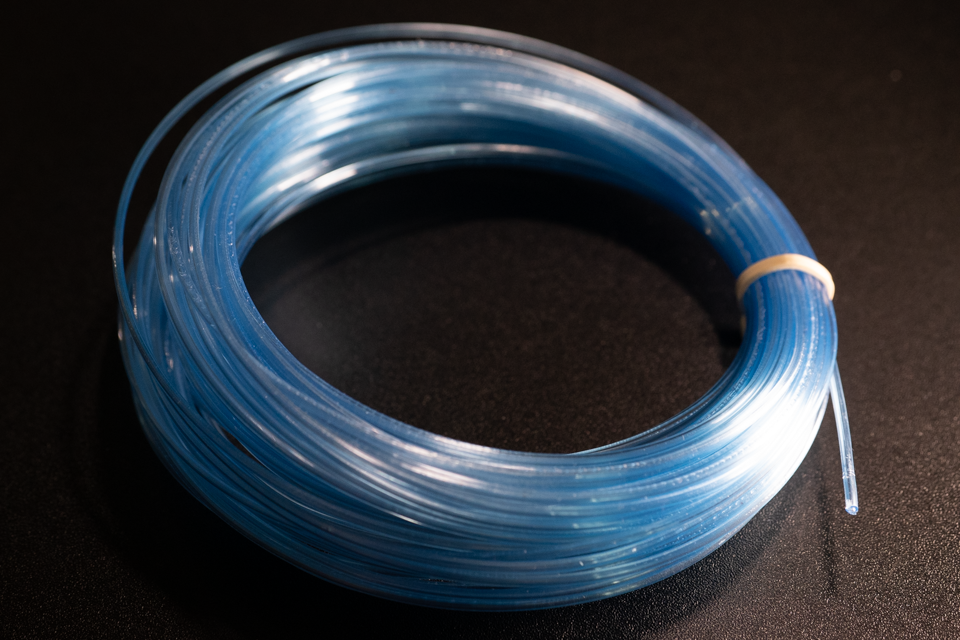
And long story short I have a success in it. Basic prototype works great and can be operated right after plugging to outlet. I have bunch of changes I need to do until it will be available to download here. Model itself is pretty dependent on some parts size parameters so it will be provided as SolidWorks assembly so you can adjust them before to fit your variations of parts.
Here is some video demo.
Here I will add information about bottle preperation and stripping, but for now few explanations and possible troubleshootings.
Strip width and filament density
During processing of cutting strip into filament we do not actually remelt the strip, but bring it to the deformation temperature and pull it out thru the nozzle. The finished filament s still a ribbon, but shrank and turned into a tube. The filament produced by this method always has a hollowness inside.
Most of the users who tried such filament faced with the number of problems with the results like skipped layers or even complete stop of the printing process. And all of them related to the hollowness of filament.
Problem 1. If you have big extruder gears tension it can compressing filament that is hollow inside, deform it's shape from round to oval. As the result filament became wider than bowden tube so it's hard to push it thru and eventually it's just stack in there. Bigger bowden path means longer friction surface. Even if your filament is pretty strong it can be rolled out and deformed in case if model have multiple retractions movement on the same spot.
Problem 2. Sometimes filament is not strong enough and have weak spots where it is bending over. If extrusion gears diameter is small so contact surface is small as well it can fall into this kinks and can't get out so just keeping grinding it infinitely in the same place. In this case only bigger extruder gears tension can help but is returns us to the situation described in problem 1.
So if you have bowden system keep extruder gears tension as low as possible to prevent filament shape deformation. If you have direct drive still watch out for extruder gears tension but it is not critical here. What really matters in both cases is balance of how strong and uniform your filament are.
To achieve perfect balance and quality of filament you need few things.
First thing first you need to figure out how wide strip suppose to be.
Standard diameter of the round shaped filament is 1.75mm.
Filament cross-sectional area is: A=Pi*r^2
3.14*(1.75/2)^2=2.4mm^2
Measure the wall of bottle prepared for slicing. Most of the time it's something between 0.2mm to 0.25mm. It will be the width of the rectangle.
Bottle strip cross-sectional area is: A=w*l
In this case bottle strip cross-sectional length: l=A/w
2.4/0.2=12mm
2.4/0.25=9.6mm
Result above is for perfectly filled filament which is almost not possible to achieve.
Considering that flow rate can be increased to 1.3 we can reduce strip width by this coefficient.
12/1.3=9.2mm
9.6/1.3=7.3mm
So to fit this range it suppose to cut strip not more than 9.6mm but not less than 9.2mm in width so in this case for me 9.5mm is the way to go.
Next point is actually to cut strip precisely. I am working on improved design of my PET bottle cutter. Current version is not precise enough because limiter and jaws sections are far from each other so on curved bottle surfaces close to the neck of the bottle it cuts strip wider that it is set and I want to cut as much of the bottle as possible.
Here you can find actual version of
PET bottle cutter.
And the last thing is pulling ability of the PET machine. I saw how people are using simple steppers in there, but even with bunch of specially printed reductors it's still struggling to pull wide strip. That is why I am using 12v gearbox motor that already has worm gear reductor built in that able to pull something with maximum of 7 rounds per minute and maximum 60kg of force. So it means that I am adding only one single reductor with the 3 to 1 ratio which makes construction simplier, smaller and more reliable.
So when I played around with wideness of the strip it was possible to get completely filled string without hollowness inside.
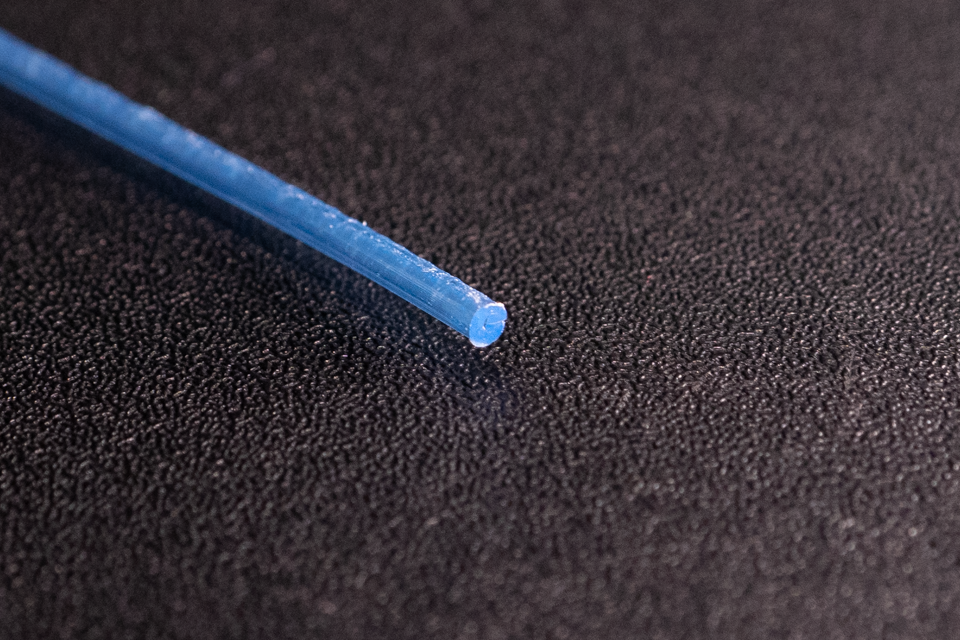
However surface was rough and process itself was on the limit of capabilities so I prefer to stick to more common result with smooth surface and small hollowness inside.
There are plenty of changes I need to do here but even now it works perfectly fine.
Filament settings
Here you can check what settings you need to use for printing this type of filament.
I am using Prusa Slicer so example will be based on this app.
As the base I take Prusament PETG filament profile.
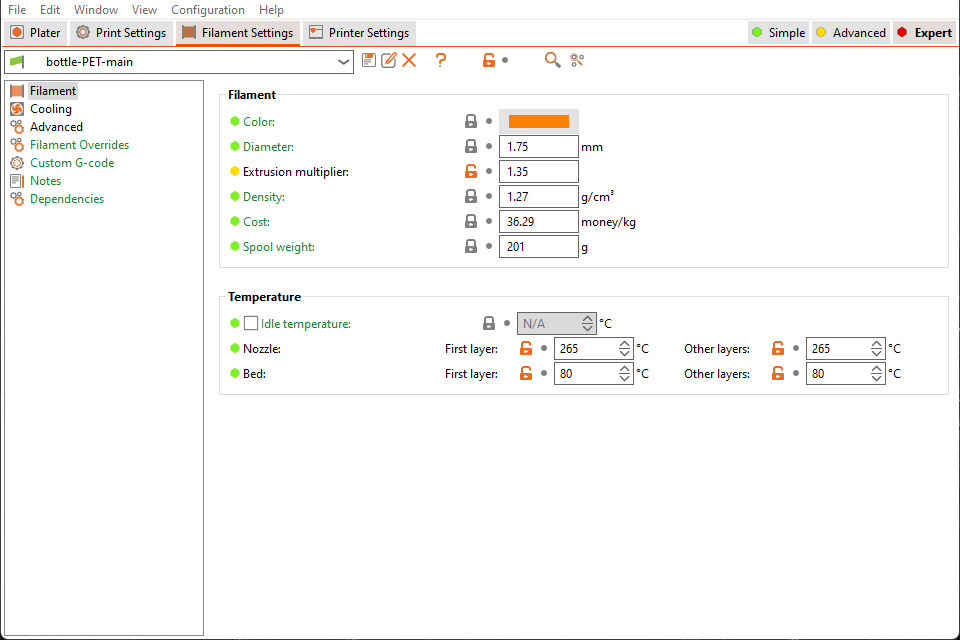
Filament:
Main change is "Extrusion multiplier" set to 1.35. Remember that our filament is hollow inside so this change suppose to compensate it.
As for temperatures, 260°C for nozzle and 80°C for bed works good, but becasue I have E3D Revo installed it requires to add +5°C degrees to nozzle.
As the result I have 265°C for nozzle for all layers and 80°C for bed for all layers.
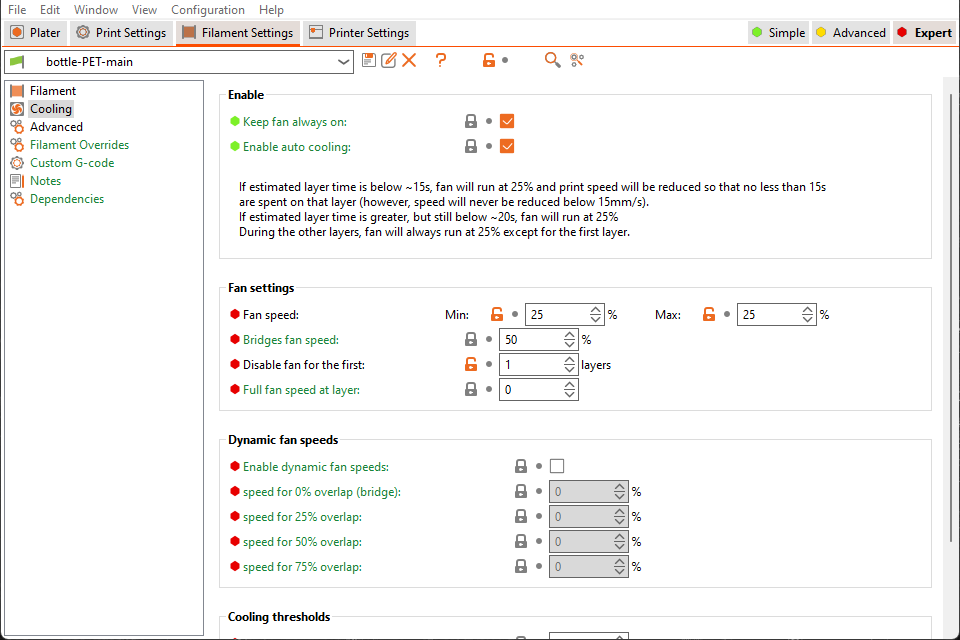
Cooling:
To avoid layers separation I keep fan speed at 25% most of the time. For the first layer it's off. For bridging increasing to 50%.
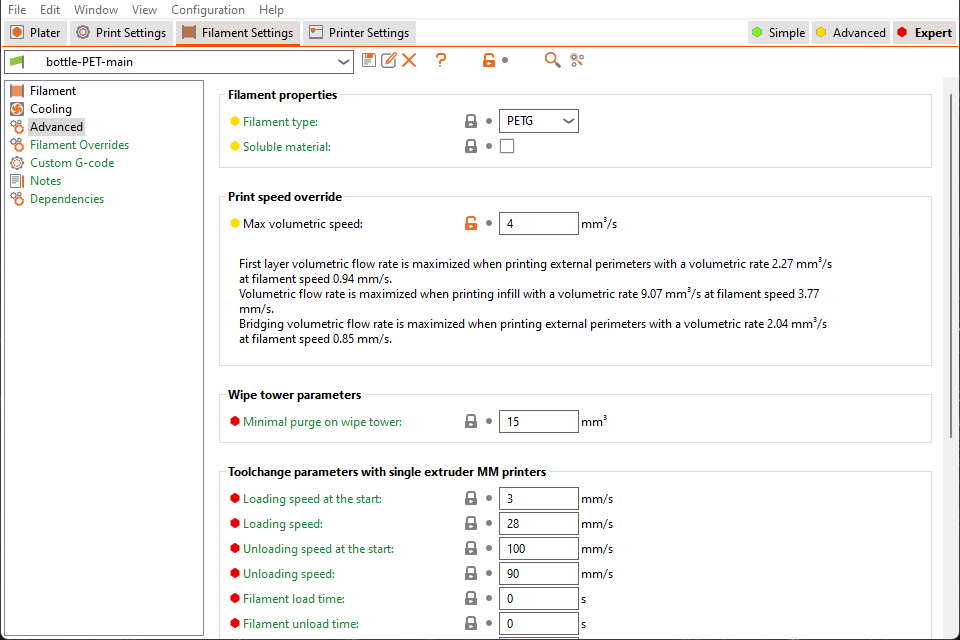
Advanced:
Decreasing volumetric speed to 4mm³/s cause this material really do not like high speed printing.
Basically that is all changes I made to print this material comfortably.
The article will be updated with the project progress and in final I will add here CAD files for this project.
Here is the printing demo.
Created by TennojiM
All rights reserved
© 2026
All rights reserved
© 2026