Intro
Aside from my past experience with FDM 3D printing, which was more of a pain than a pleasure, since i bought "Prusa Mini +", those emotions have changed dramatically. I finally see great example of FDM 3D printer that prints good out of the box, and the option to buy it as a "kit" format and assemble it piece by piece gives a complete understanding of the design and removes the fear of modifying this design. So... what I am doing. This article will be the list of my mods for "Prusa Mini +".
Modifications:
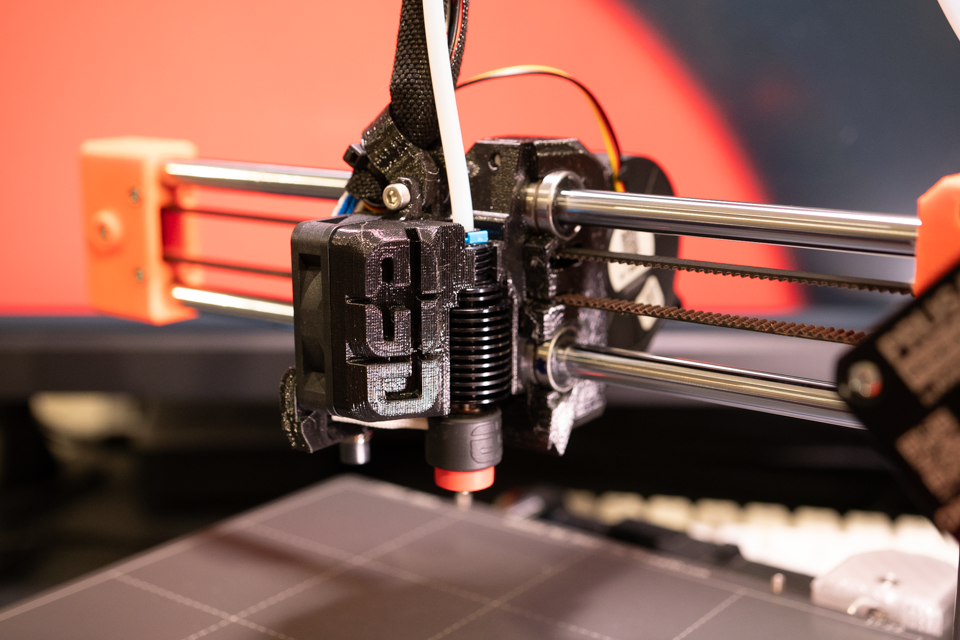
1. E3D Revo Micro hotend.
The original "Prusa Mini +" hotend has several problems caused by how high it is inserted into the radiator and how tightly the bowden tube is squished in the middle. Also, as for me, this situation with bowden tube inside hotend looks a bit inconvenient. Consequences are well known: clog and underextrusion. And also I would like to conveniently change nozzles without the risk of breaking the heater, rip the threads, or scratching something. So my choice fell on the proprietary and at the same time unified within the E3D ecosystem Revo Micro.
Here is a
link to the site where you can read more and buy it.
Here you can find
printable mounting part for "Prusa Mini +".
And in general, there is a very detailed
guide from E3D themselves about how to change original "Prusa Mini +" hotend with this one. I changed my process a little, but this is a matter of habit.
In Revo design nozzle and heatbreak implemented as whole piece where bi-metal parts pressed into each other, so no more Teflon tubes inside and no more clogs.
In addition, when the filament is not loaded, the nozzle can be easily changed by hands.
Also I noticed that the whole "Revo Micro" hotend with printed mount part is noticeably lighter than the original "Prusa Mini +" hotend.
Here is how result looks like. As for me... looks cute.
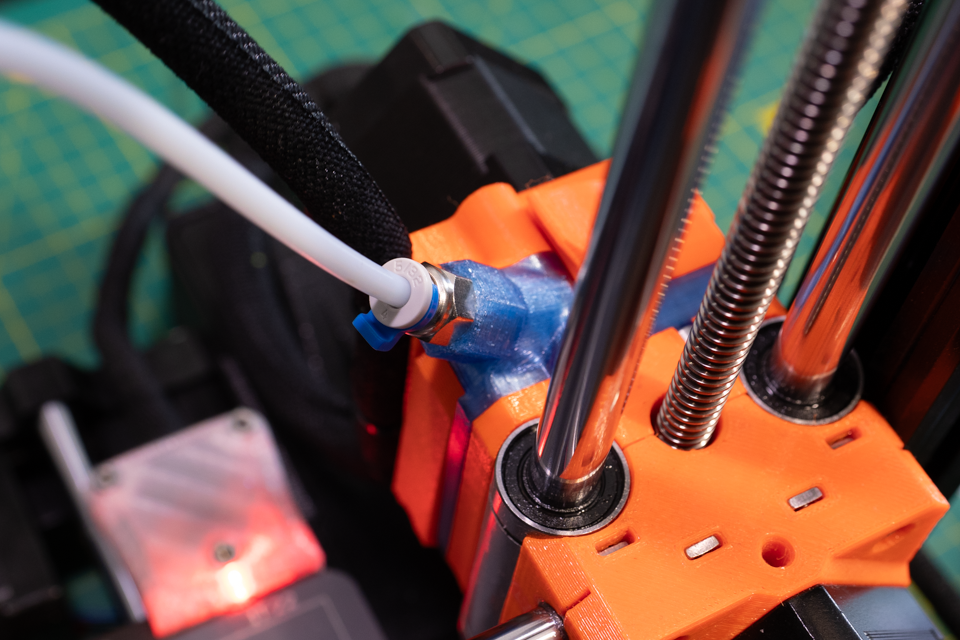
2. Straight-thru quick release pneumatic bowden tube fitting for extruder output.
During previous modification there is one step which makes it point of no return in case if you do not have spare bowden tube with preinstalled brass compression fittings on it. I really did not want to cut mine.
Also it is a big surprise for most who did not assemble "Prusa Mini +" kit that there are actually three bowden tubes involved in the extruder block. One for filament loading hole, another one from extruder output to hotend, but there is third one approx 15mm length inserted inside extruder to guide filament from wheels to output brass mount. So I really do not understand what was the problem with making simple straight-thru bowden tube fitting for extruder output instead of separating it with brass mount and have two pieces instead.
So I decide to make simple adapter for most common bowden straight-thru fitting.
I still do not understand how people determine "PC4-M10*0.9 Straight-Thru" and "PC4-01 NPT (1/8in) Straight-Thru" Bowden fittings, but M10x0.9 thread works good for both so I took one from separate Capricorn upgrade kit for Creality machines.
To figure out a bit this mess with fittings you can read
this.
Now I can use any bowden tube without any additional fancy fitting on it. One end inserting directly inside "E3D Revo Micro" hotend and oposite end goes straight-thru custom extruder output fitting and reaches wheels without any additional piece of bowden tube in between.
Here you can find
.stl.
Be careful during screwing it in because over-tightening will cause snap inside your printer extruder part. I would even recommend to print some extra "R1" extruder part for exchange like I did.
Here how it looks. And works like a charm, btw.
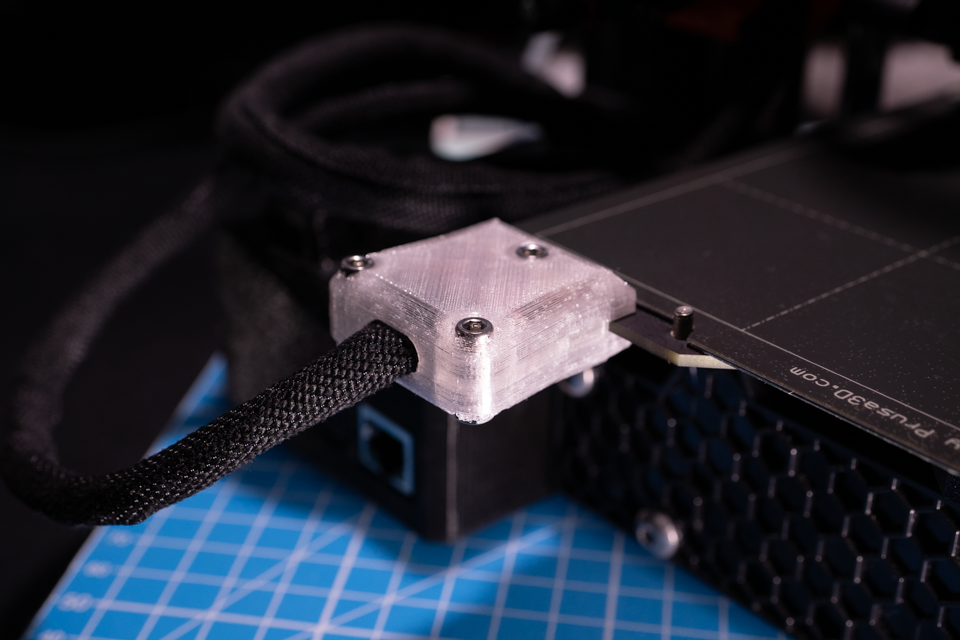
3. Alternative heating bed cable holder.
Let's put it simple. I hate original design of heating bed cable holder on "Prusa Mini +". It is full of sharp corners, bulky and hard to mount. All alternative that I saw are also weird. So it was only one part that I decide to do not install during assembly... and used printer without it for quite a long period of time.
So I finally designed my version that is simple, lightweight and most of the edges that are technically in contact with the cables are rounded.
Here you can download
.stl of it.
Here how it is gently squishing cables. I do not want to squish them too much. I think is is better properly tightening them up to the plate and restrict access to connection than hardly fix their position instead.
I made my version with transparent bottle PET so it dissipates light softly. As for me looks cool.
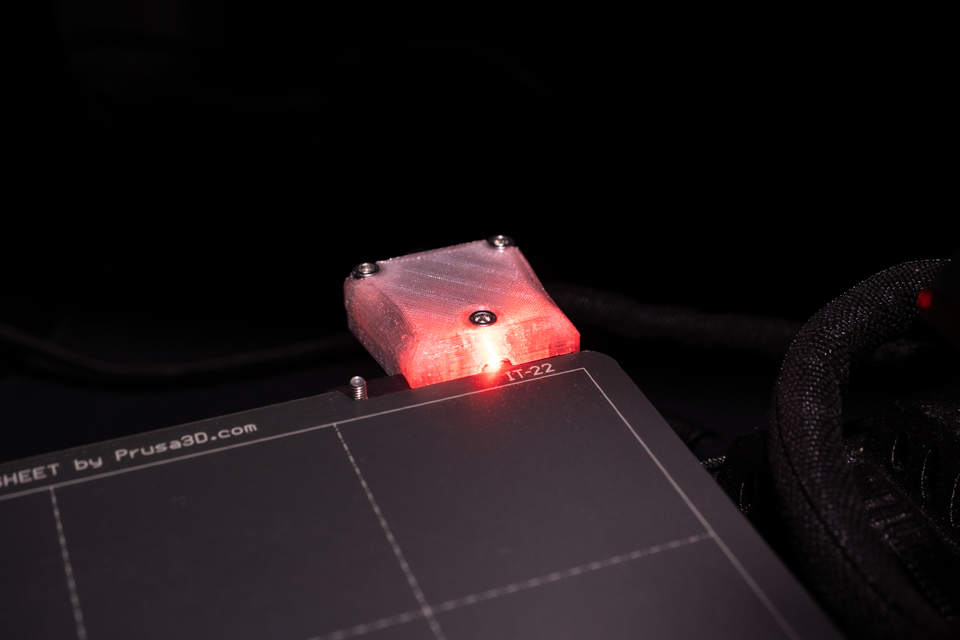
(!!!) Updated with most reliable and compact version. Make sure it works with your hotend and not hitting it at the far max position.
Created by TennojiM
All rights reserved
© 2025
All rights reserved
© 2025